
Castle Model in Kapla

Pieces
Difficulty
Time
Age from
Shared by
Build the castle step by step
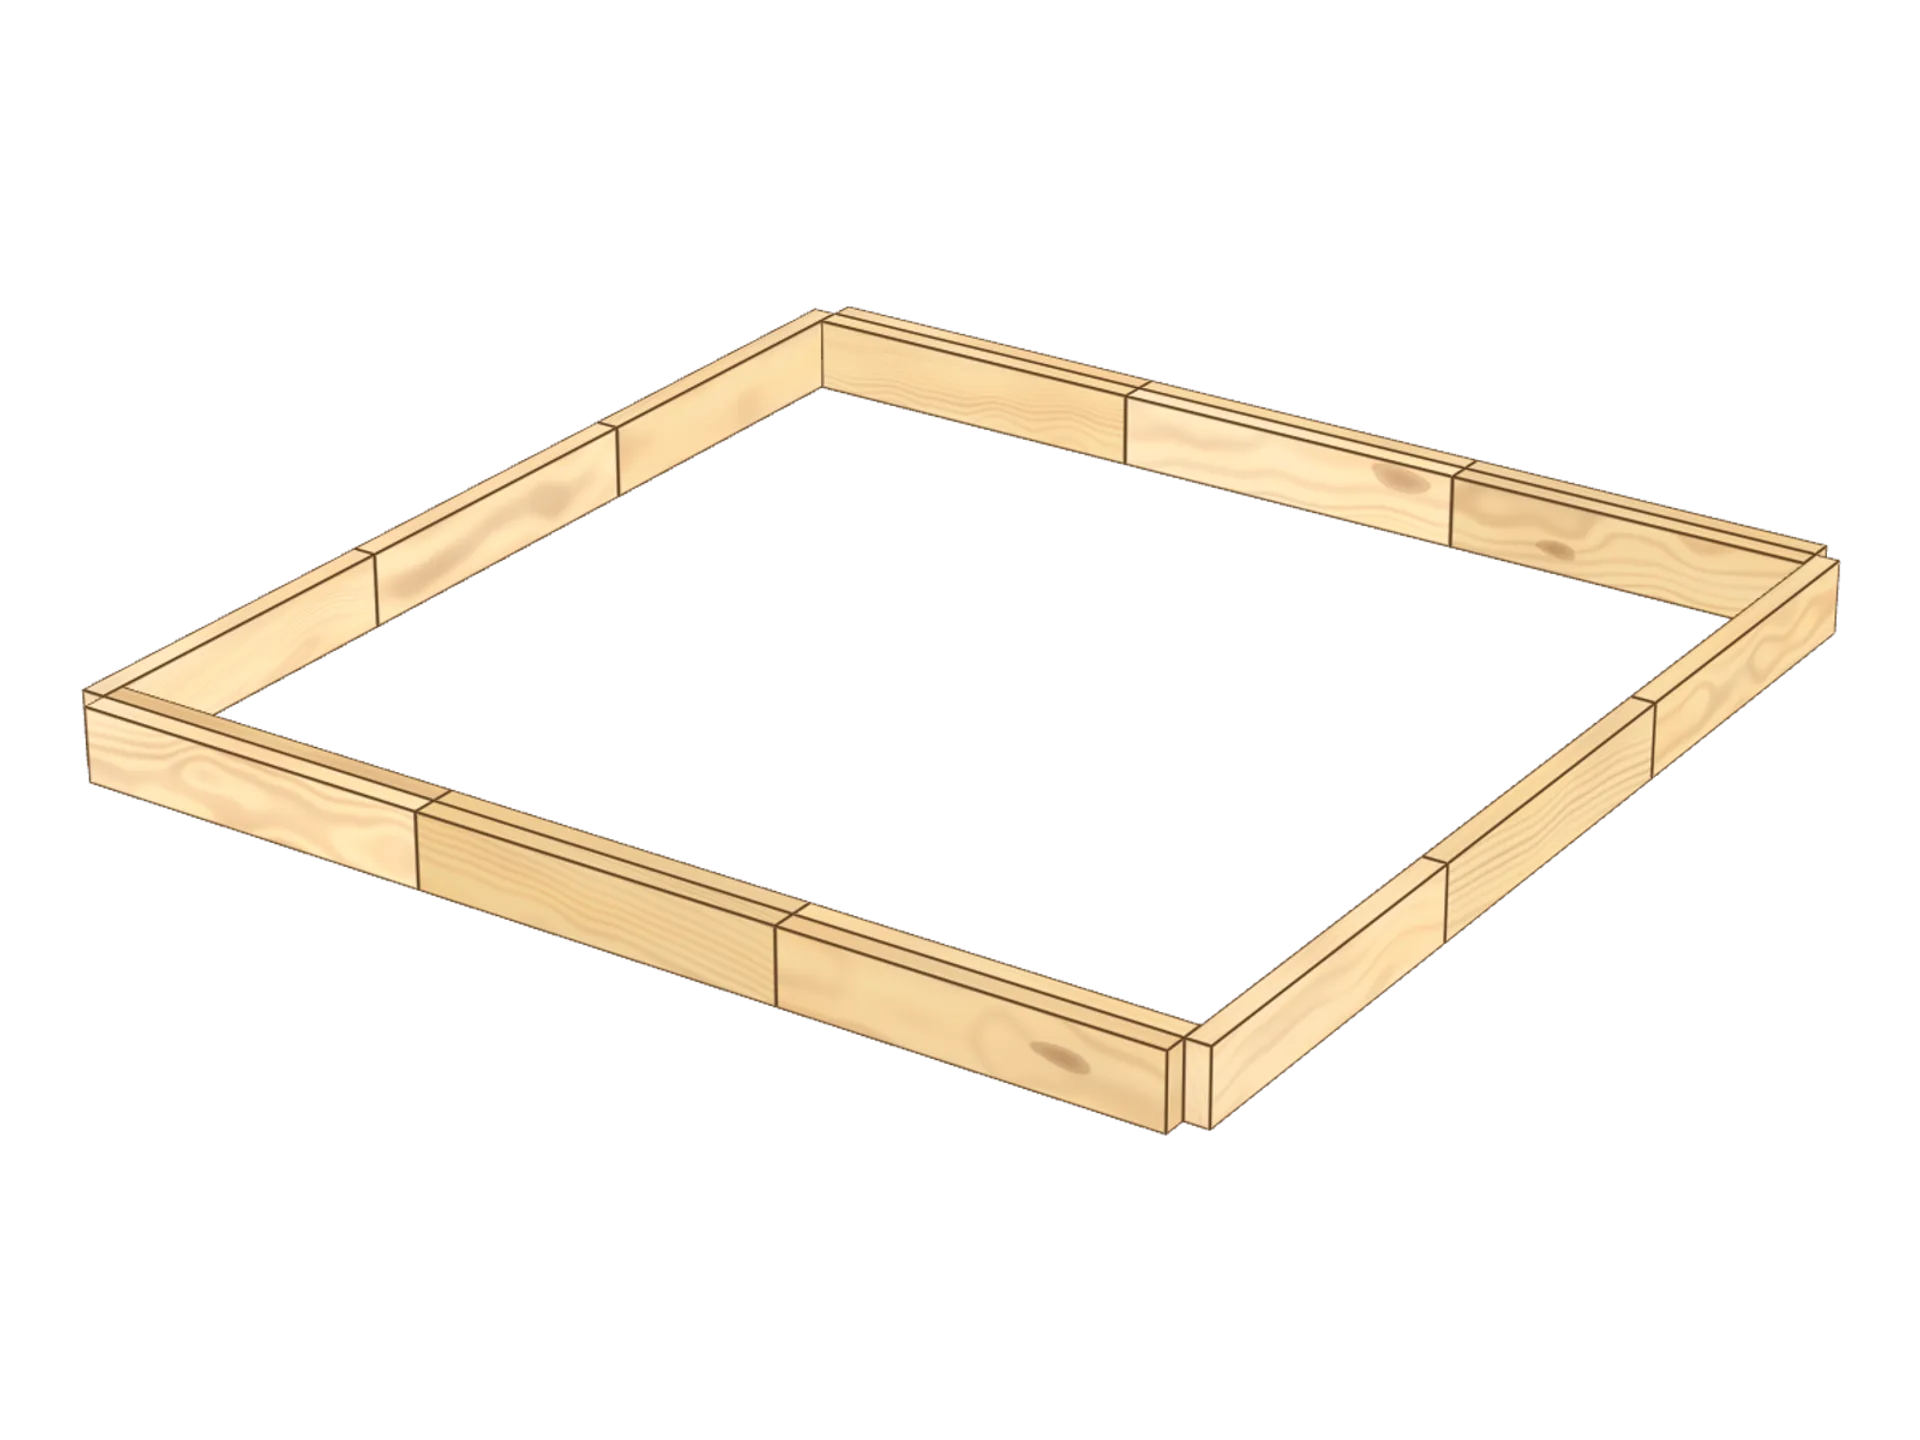
Step 1: lay the base square
Start with a square of 3 Kapla by 3. On 2 parallel sides, add a row of planks towards the outside.
💡 Astuce : pay close attention to the first square and the way the planks touch to form it!
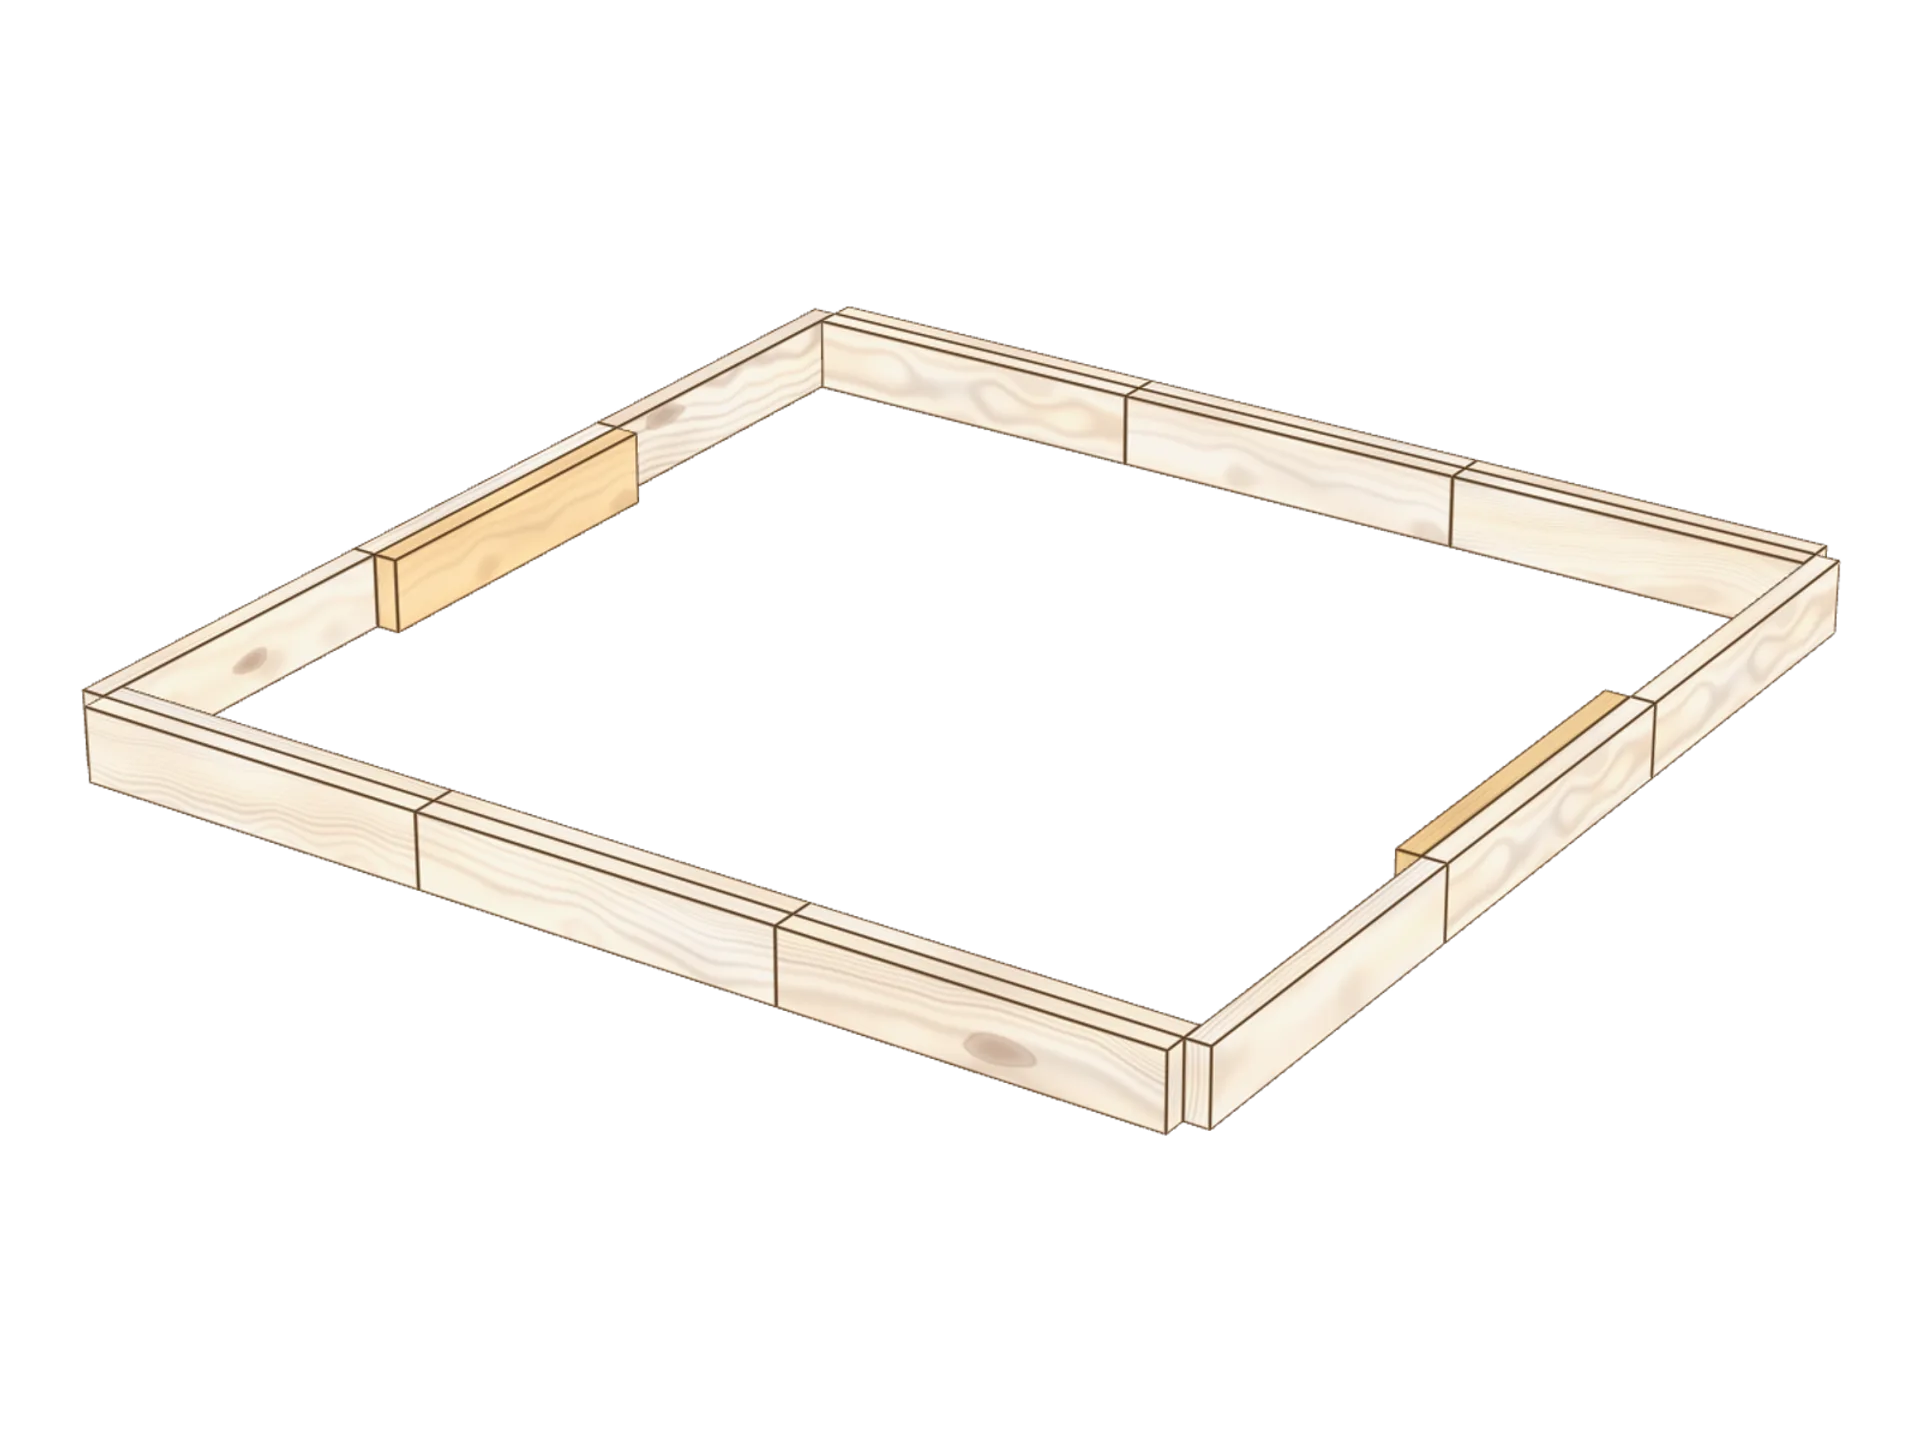
Step 2: double the middle of the sides
On the other 2 sides, double only the middle plank, on the inside.
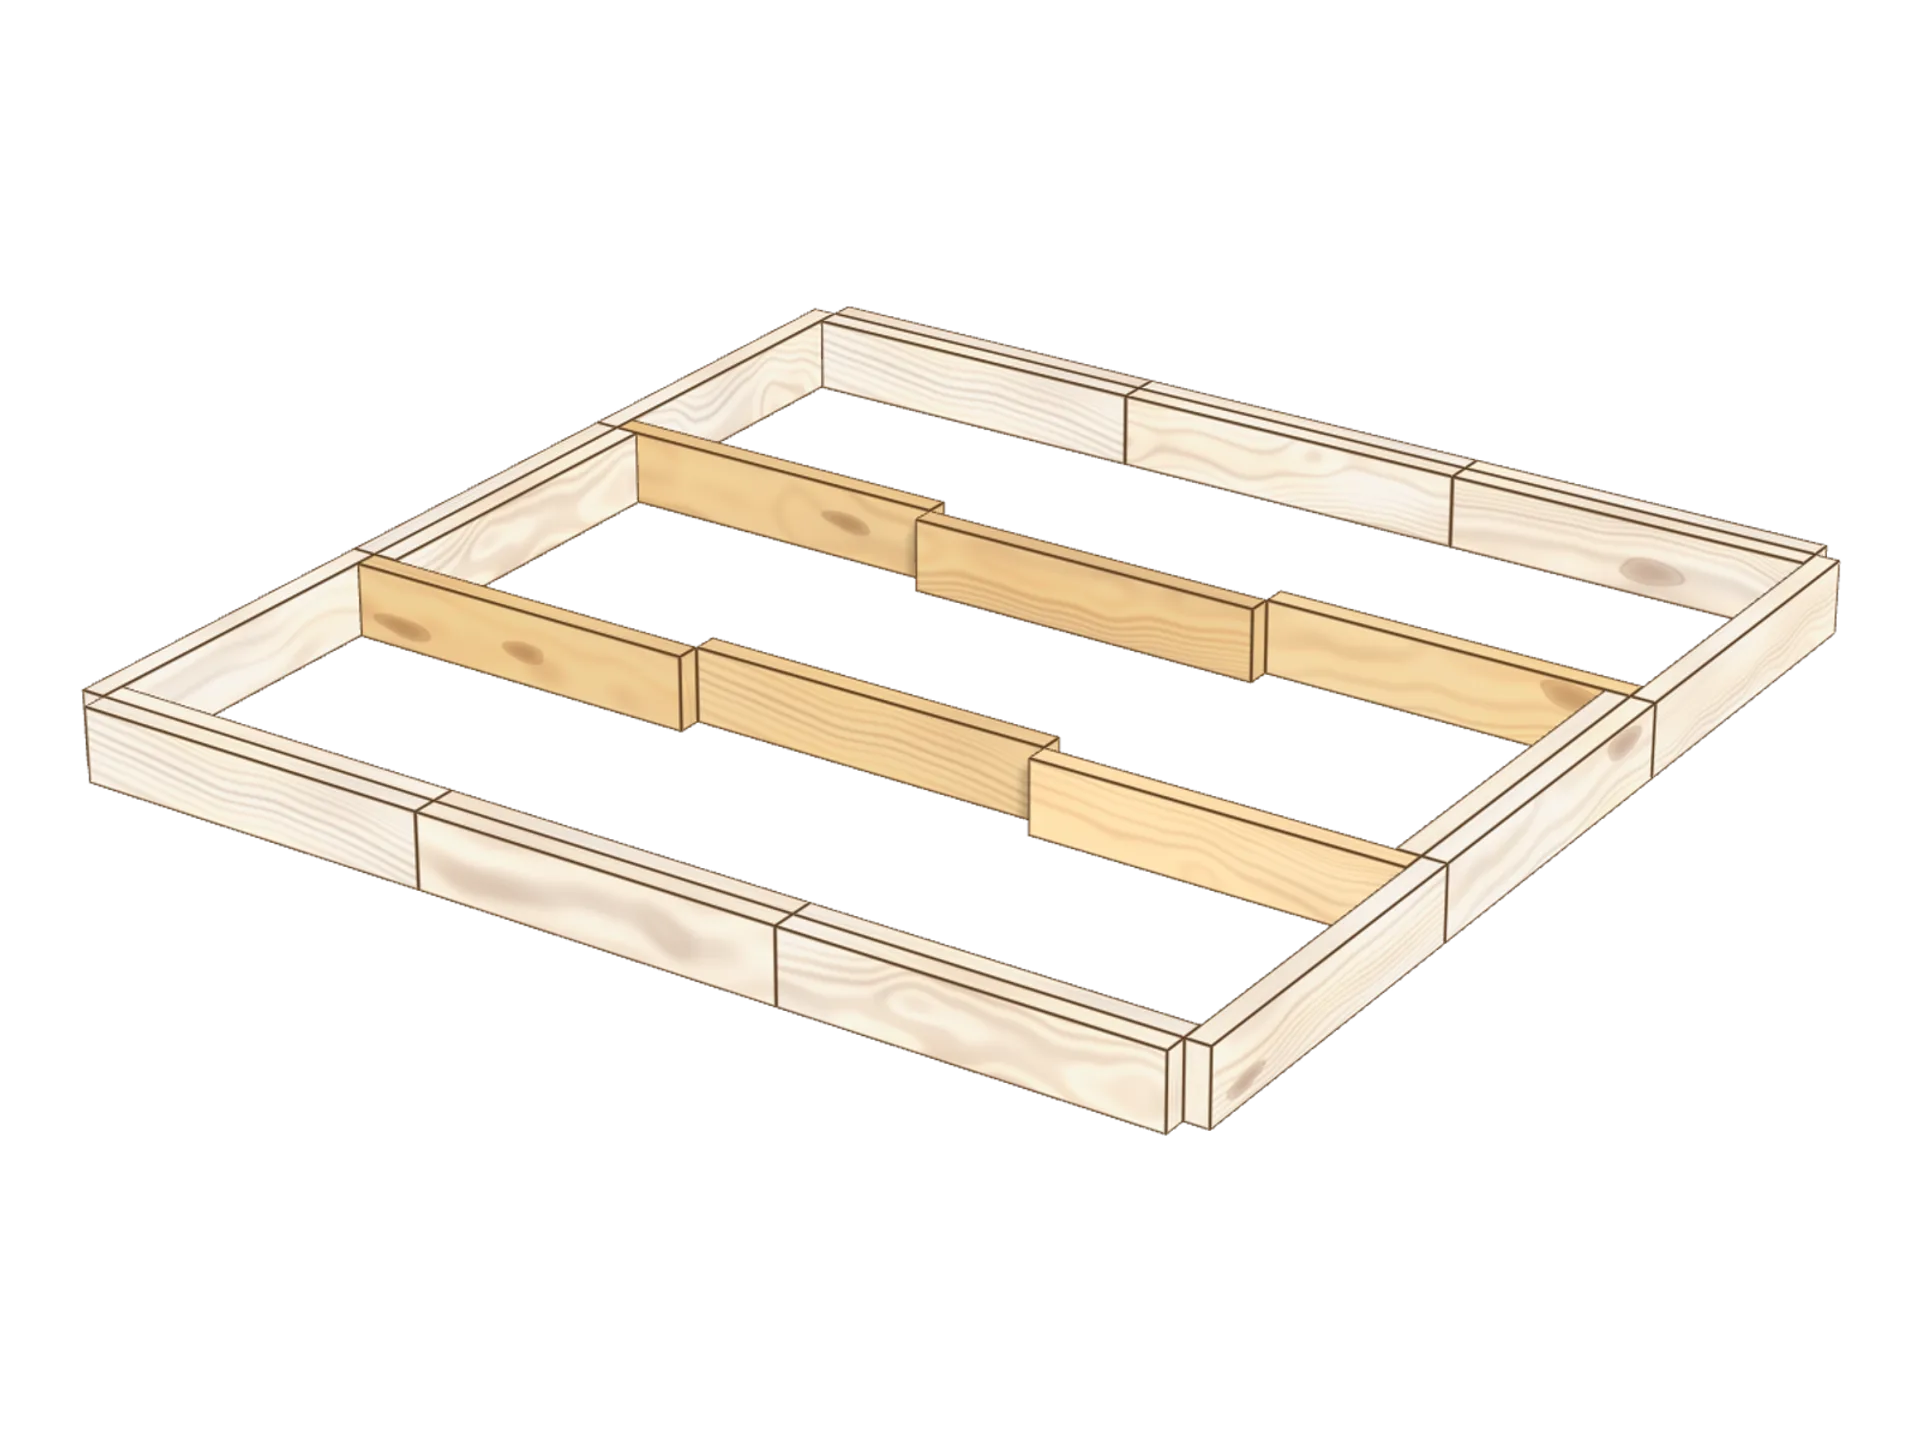
Step 3: lay the base of the towers and the keep
To build the base of the great tower, lay one piece at right angles towards the centre on each side of these last 2 Kapla (4 in all). Finally, join the Kapla together in the middle, one notch closer to the centre.
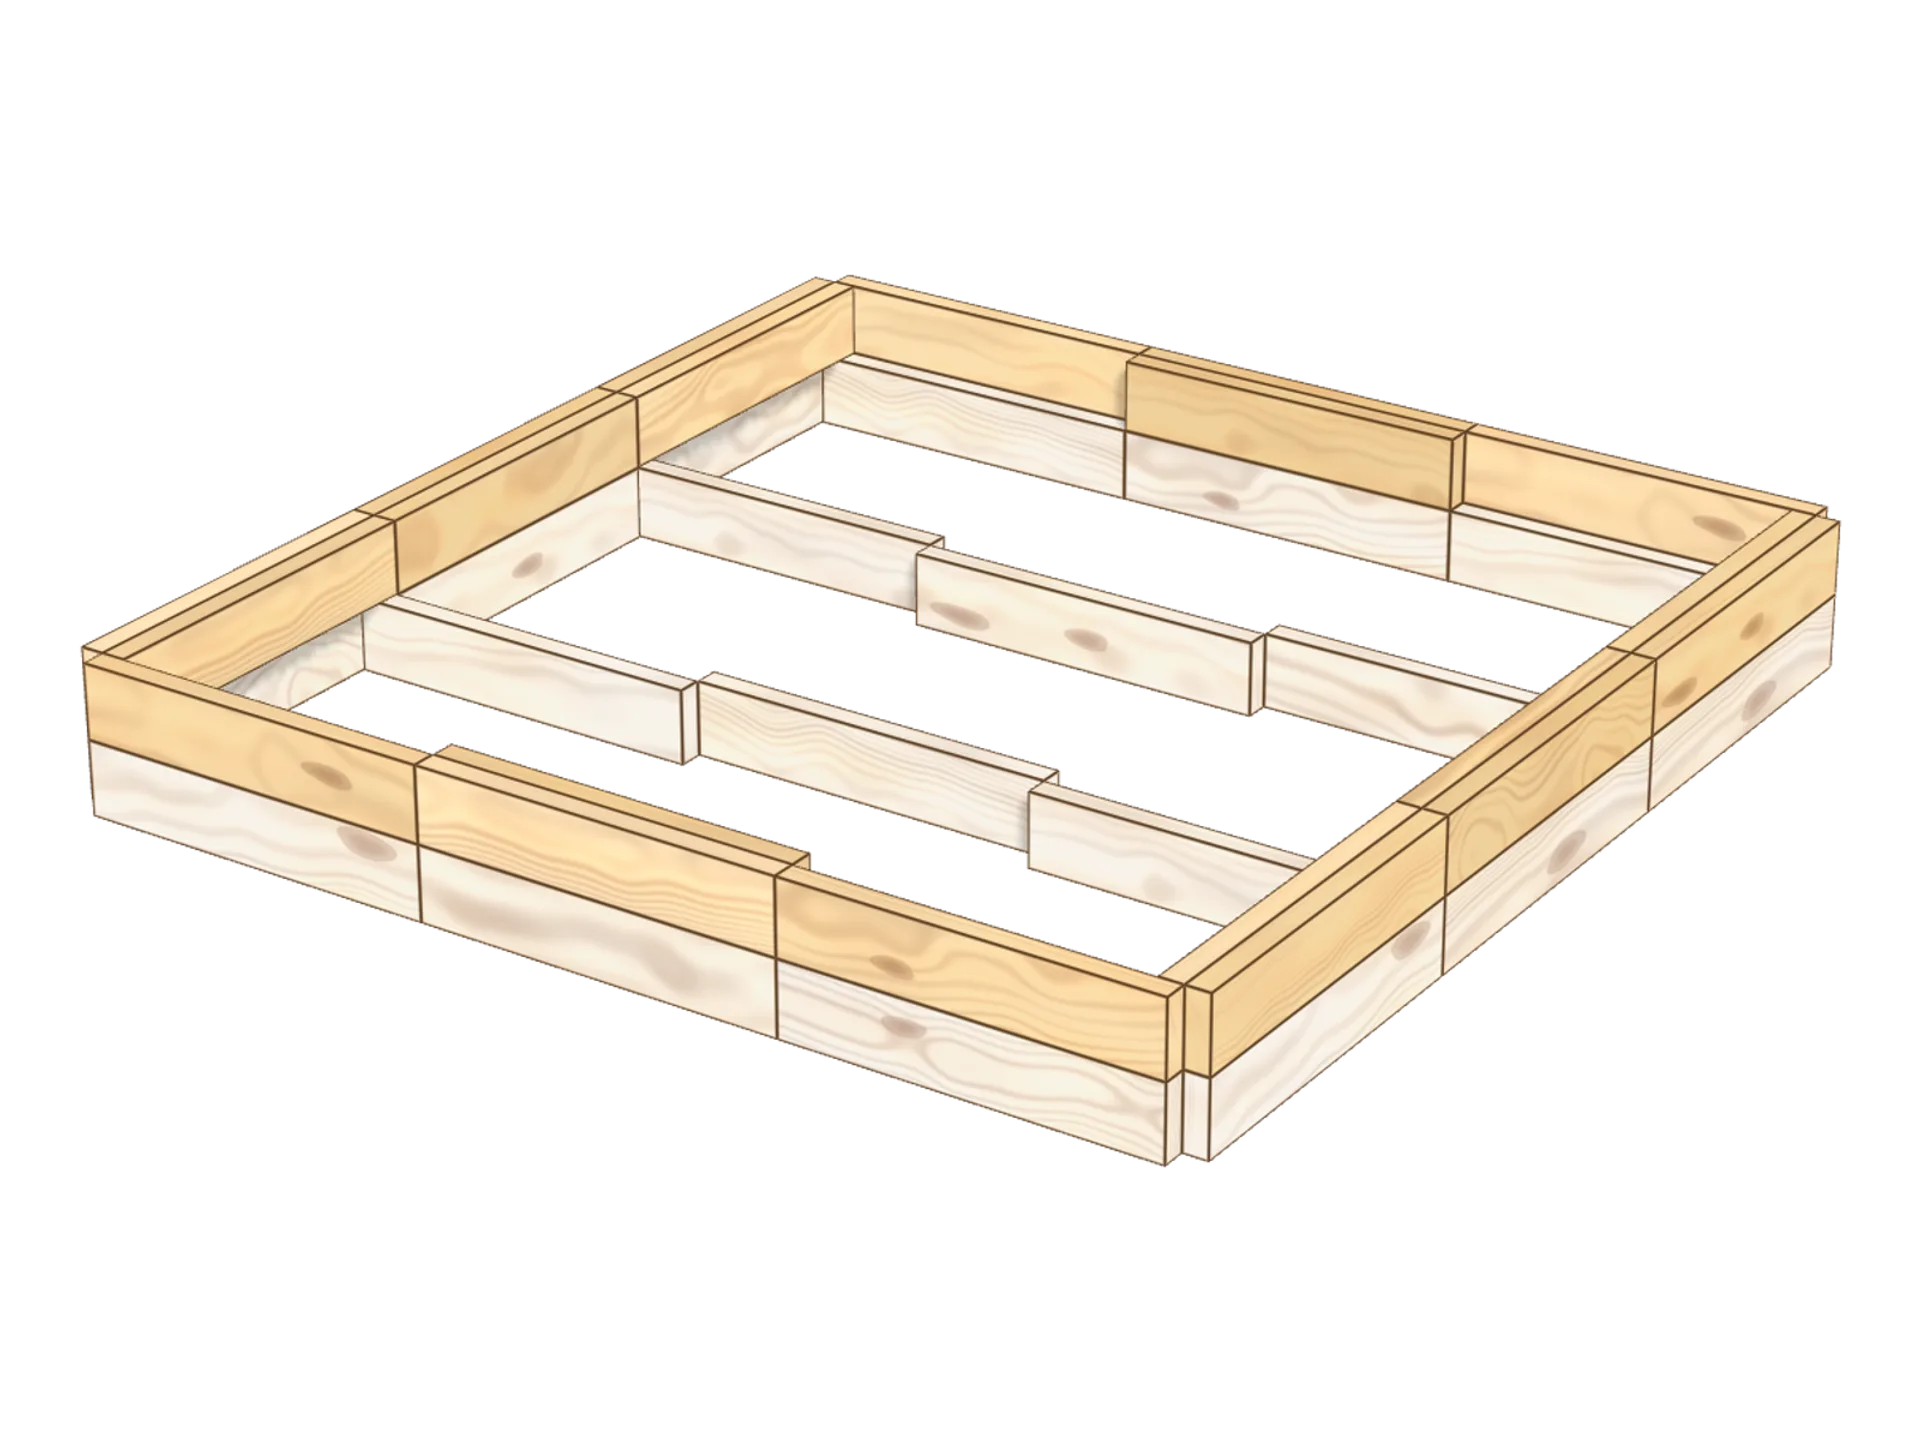
Step 4: raise the wall
If your base is right, you can now raise the castle wall by one level, swapping the order of the previous step: where the wall was 6 Kapla thick, build only the outer wall and double the middle plank, and the other way round.
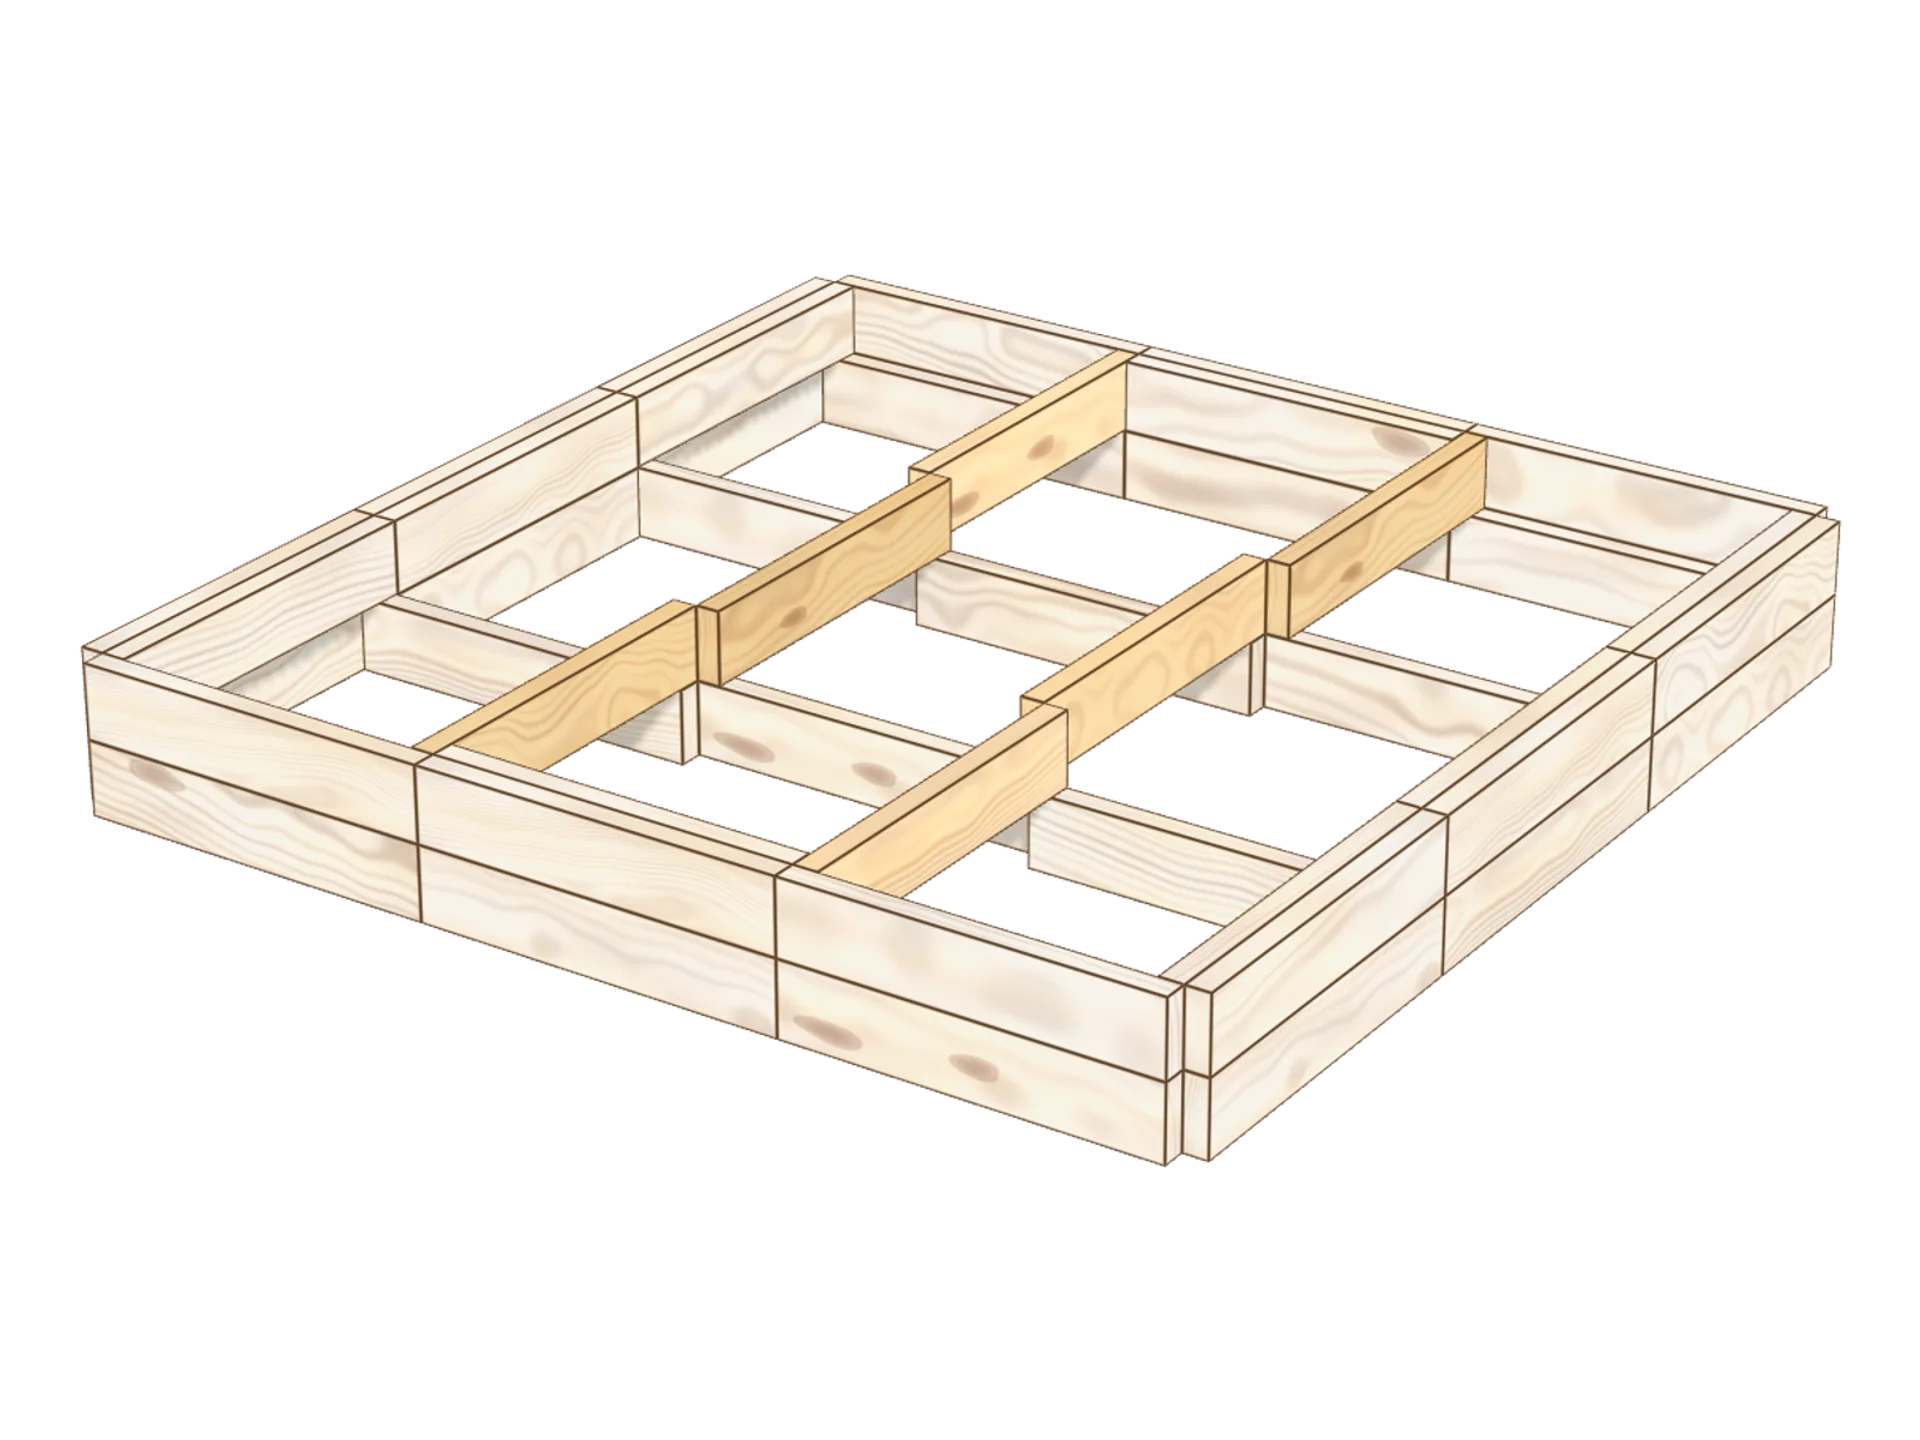
Step 5: raise the inner tower
Next, start the inner tower the same way as before: on the middle lining, set 2 Kapla on each side and join them in the centre.
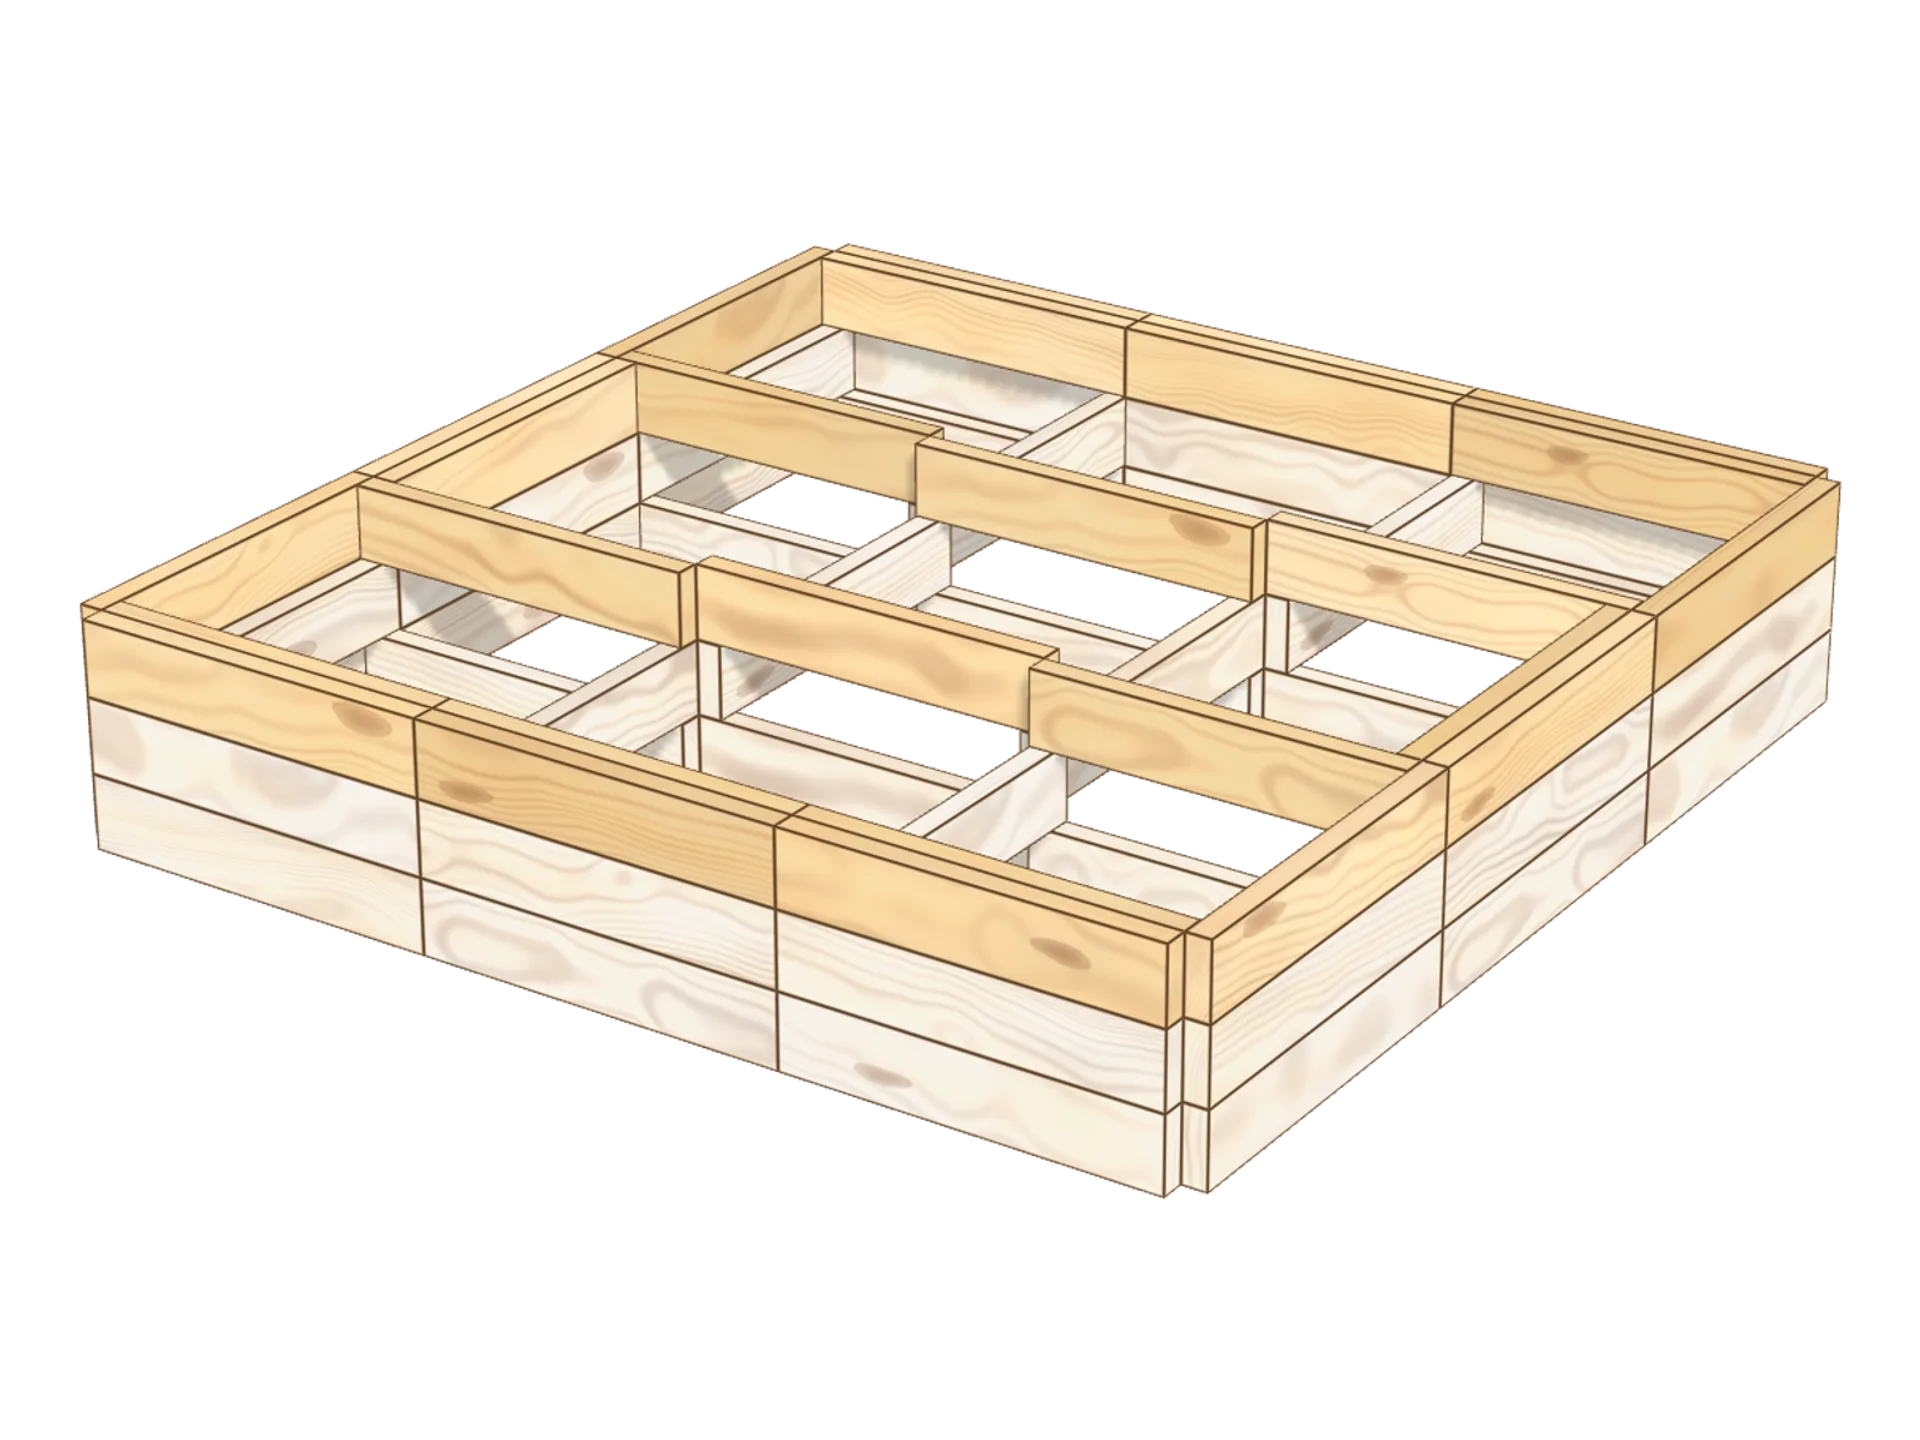
Step 6: make the wall three thick
Do it all once more! The wall is now three Kapla thick.
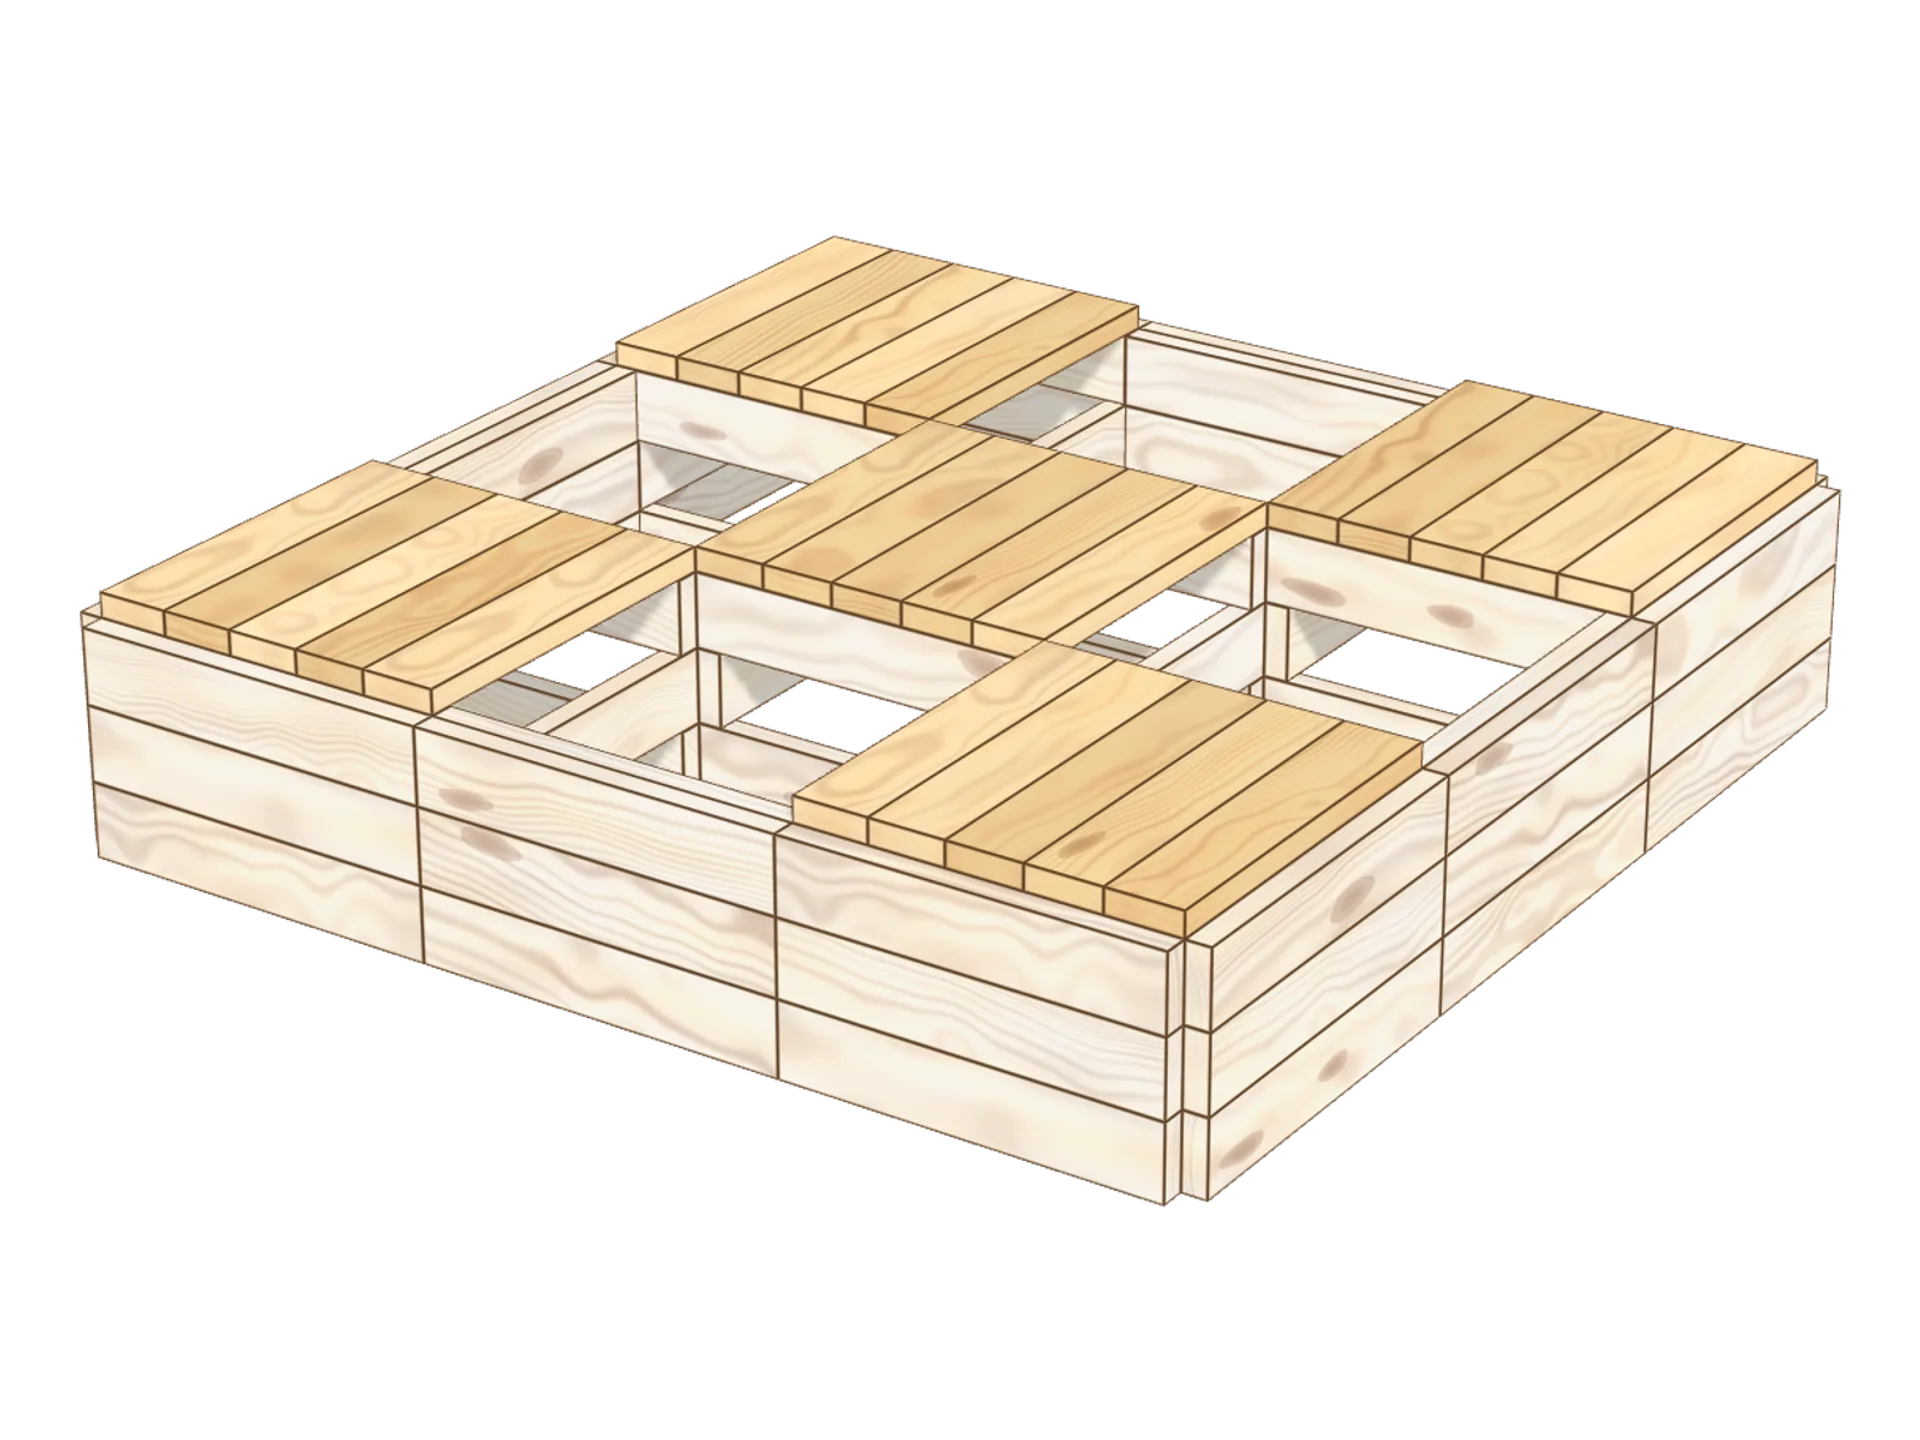
Step 7: lay the floors of the watchtowers
Cover each tower with five flat planks, packed tightly together. This is the floor of the upper level: without it, the next row would have nothing to rest on.
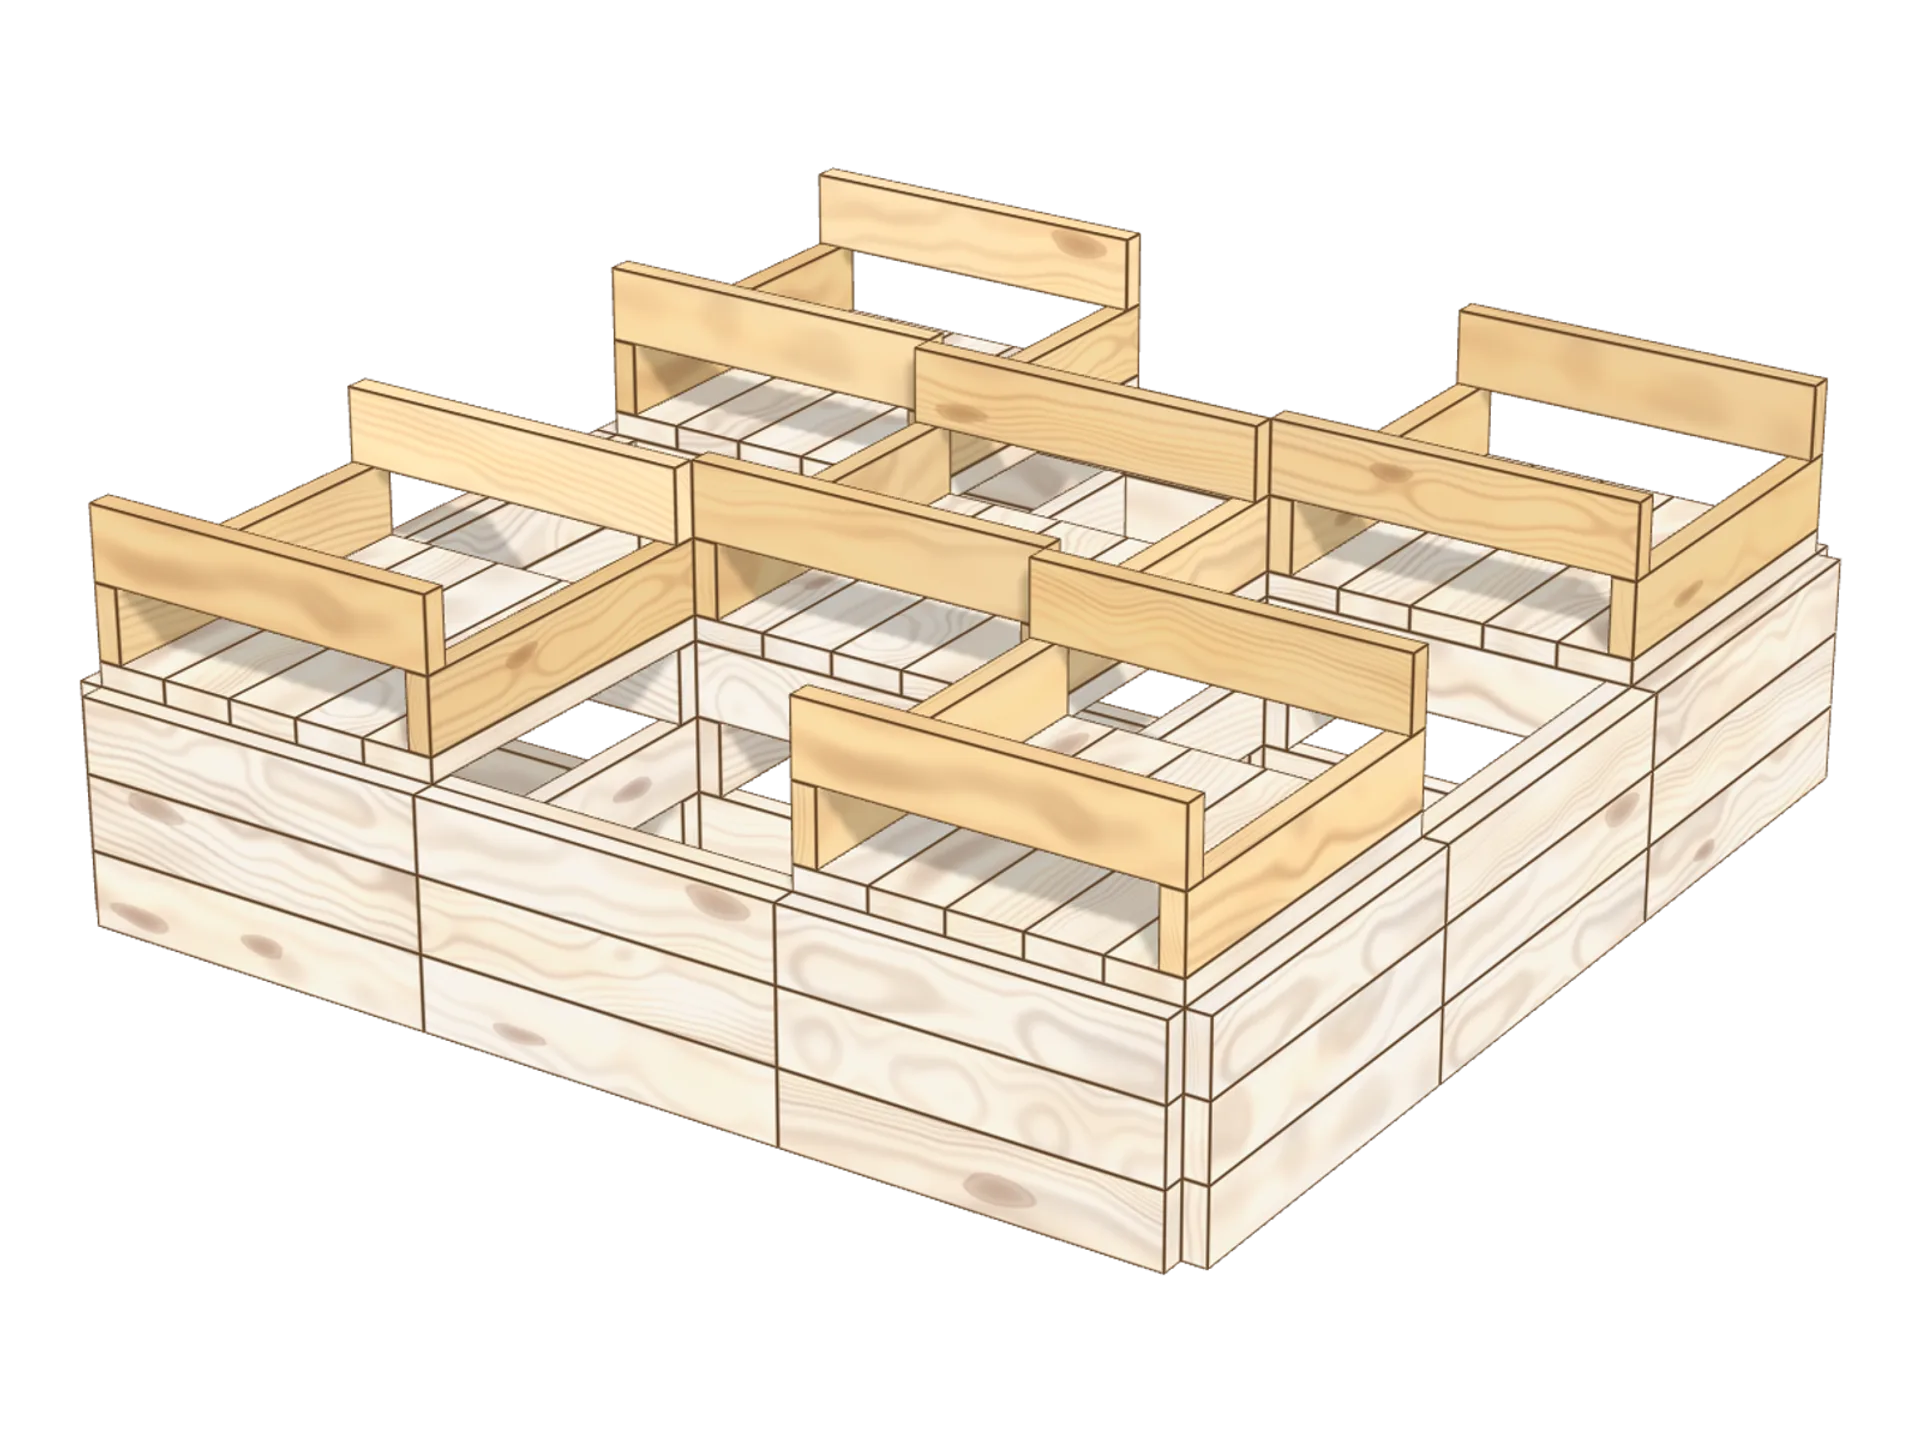
Step 8: raise the upper level of the castle
Time to build the towers up again! On each of the 5 floors, at the ends, place 2 Kapla, alternating the direction at each level: the towers and the keep now rise above the wall.
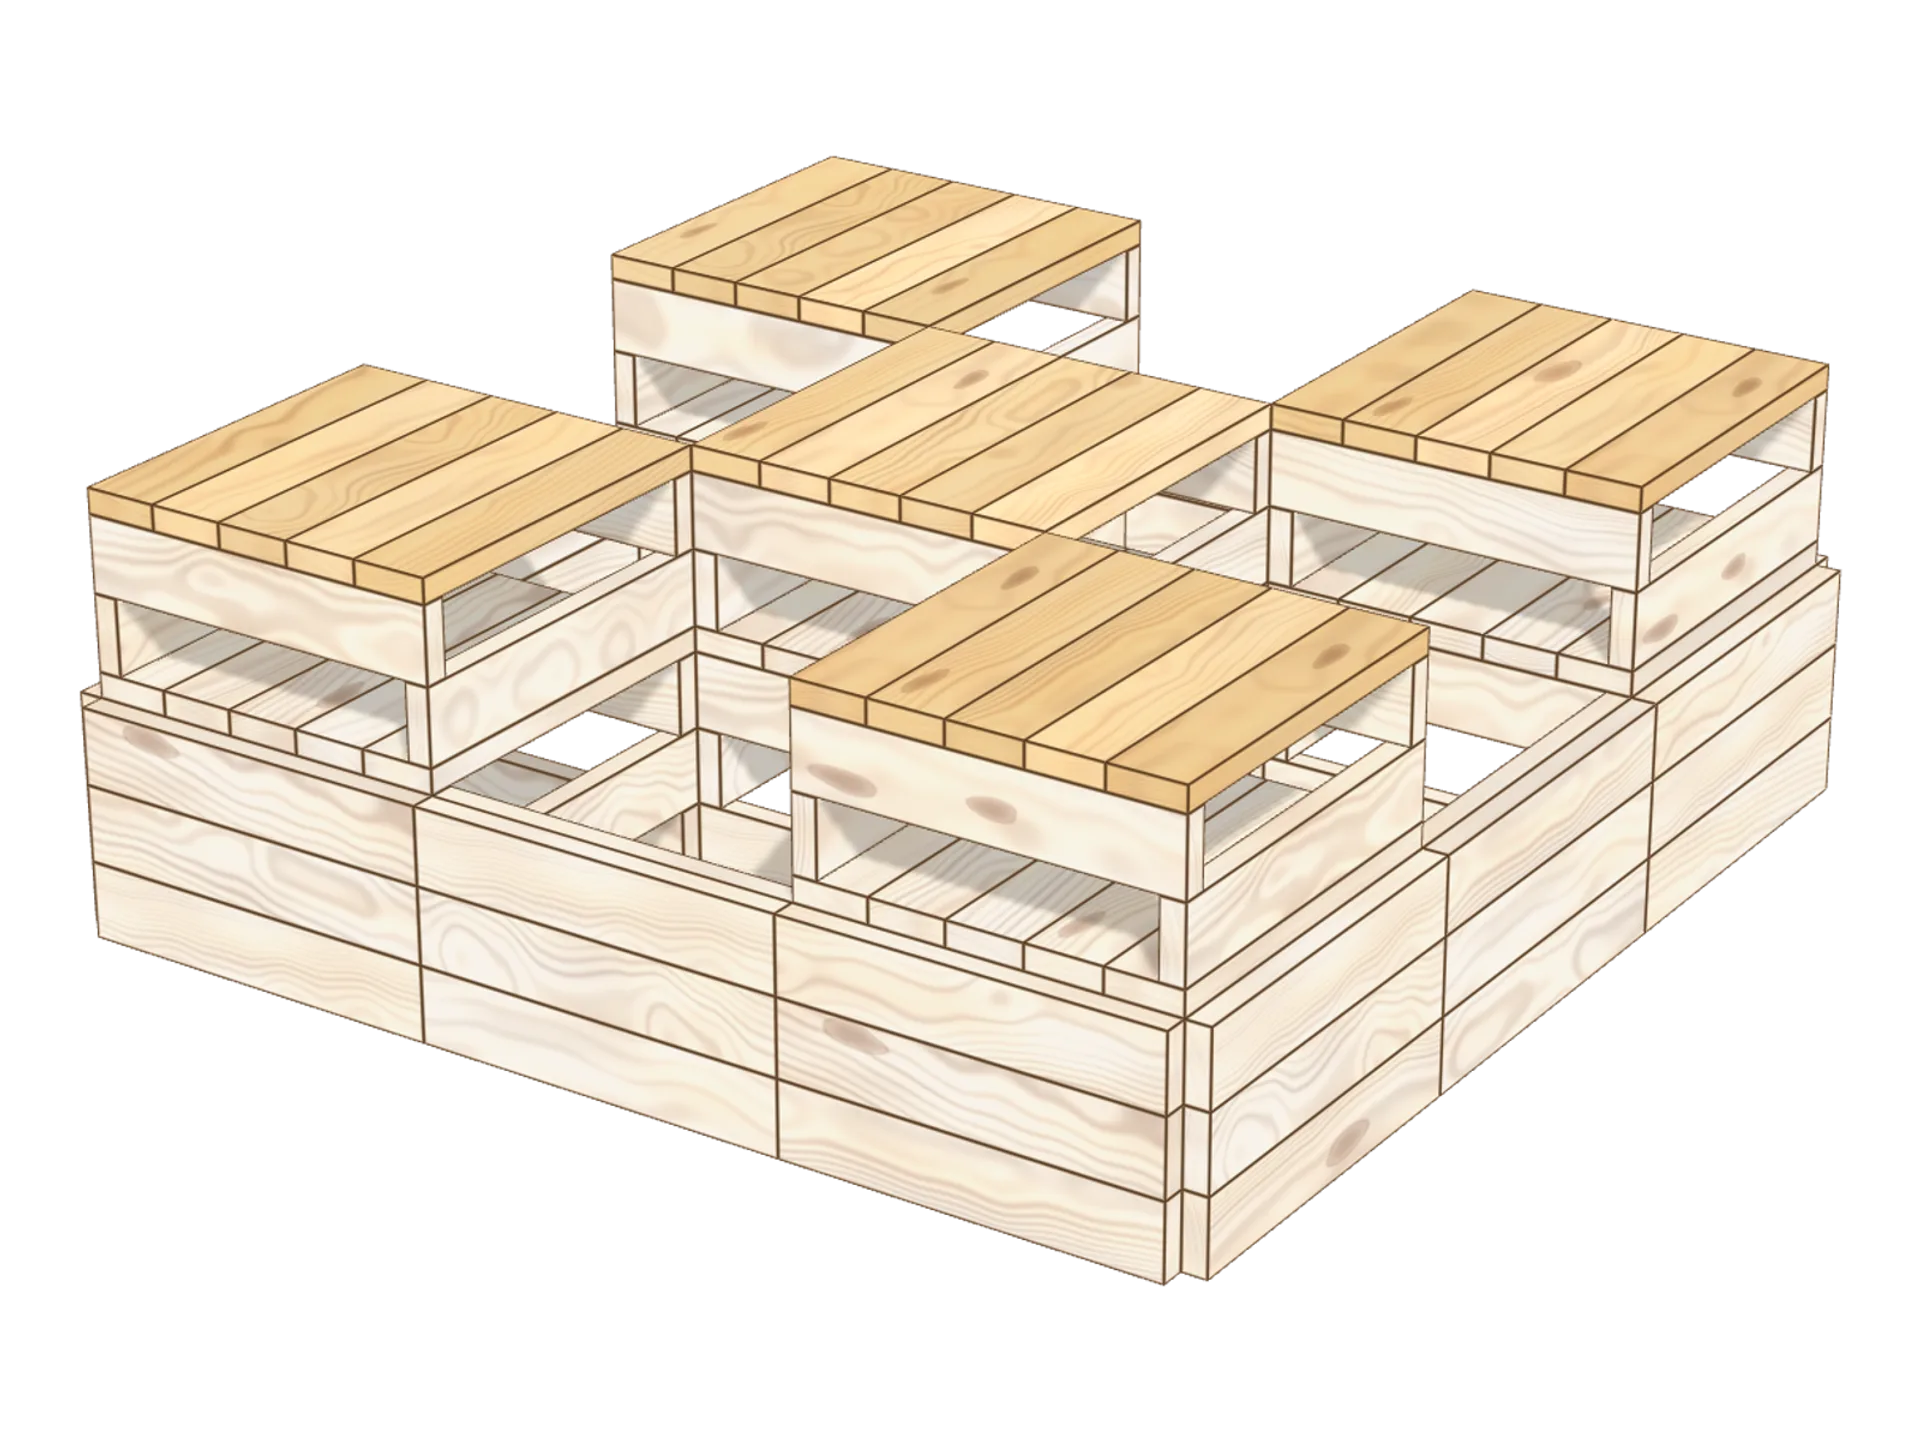
Step 9: form the terraces with 5 Kapla
Close the top of each tower with five flat planks, as for the floors. These are the terraces, which will receive the castle's battlements.
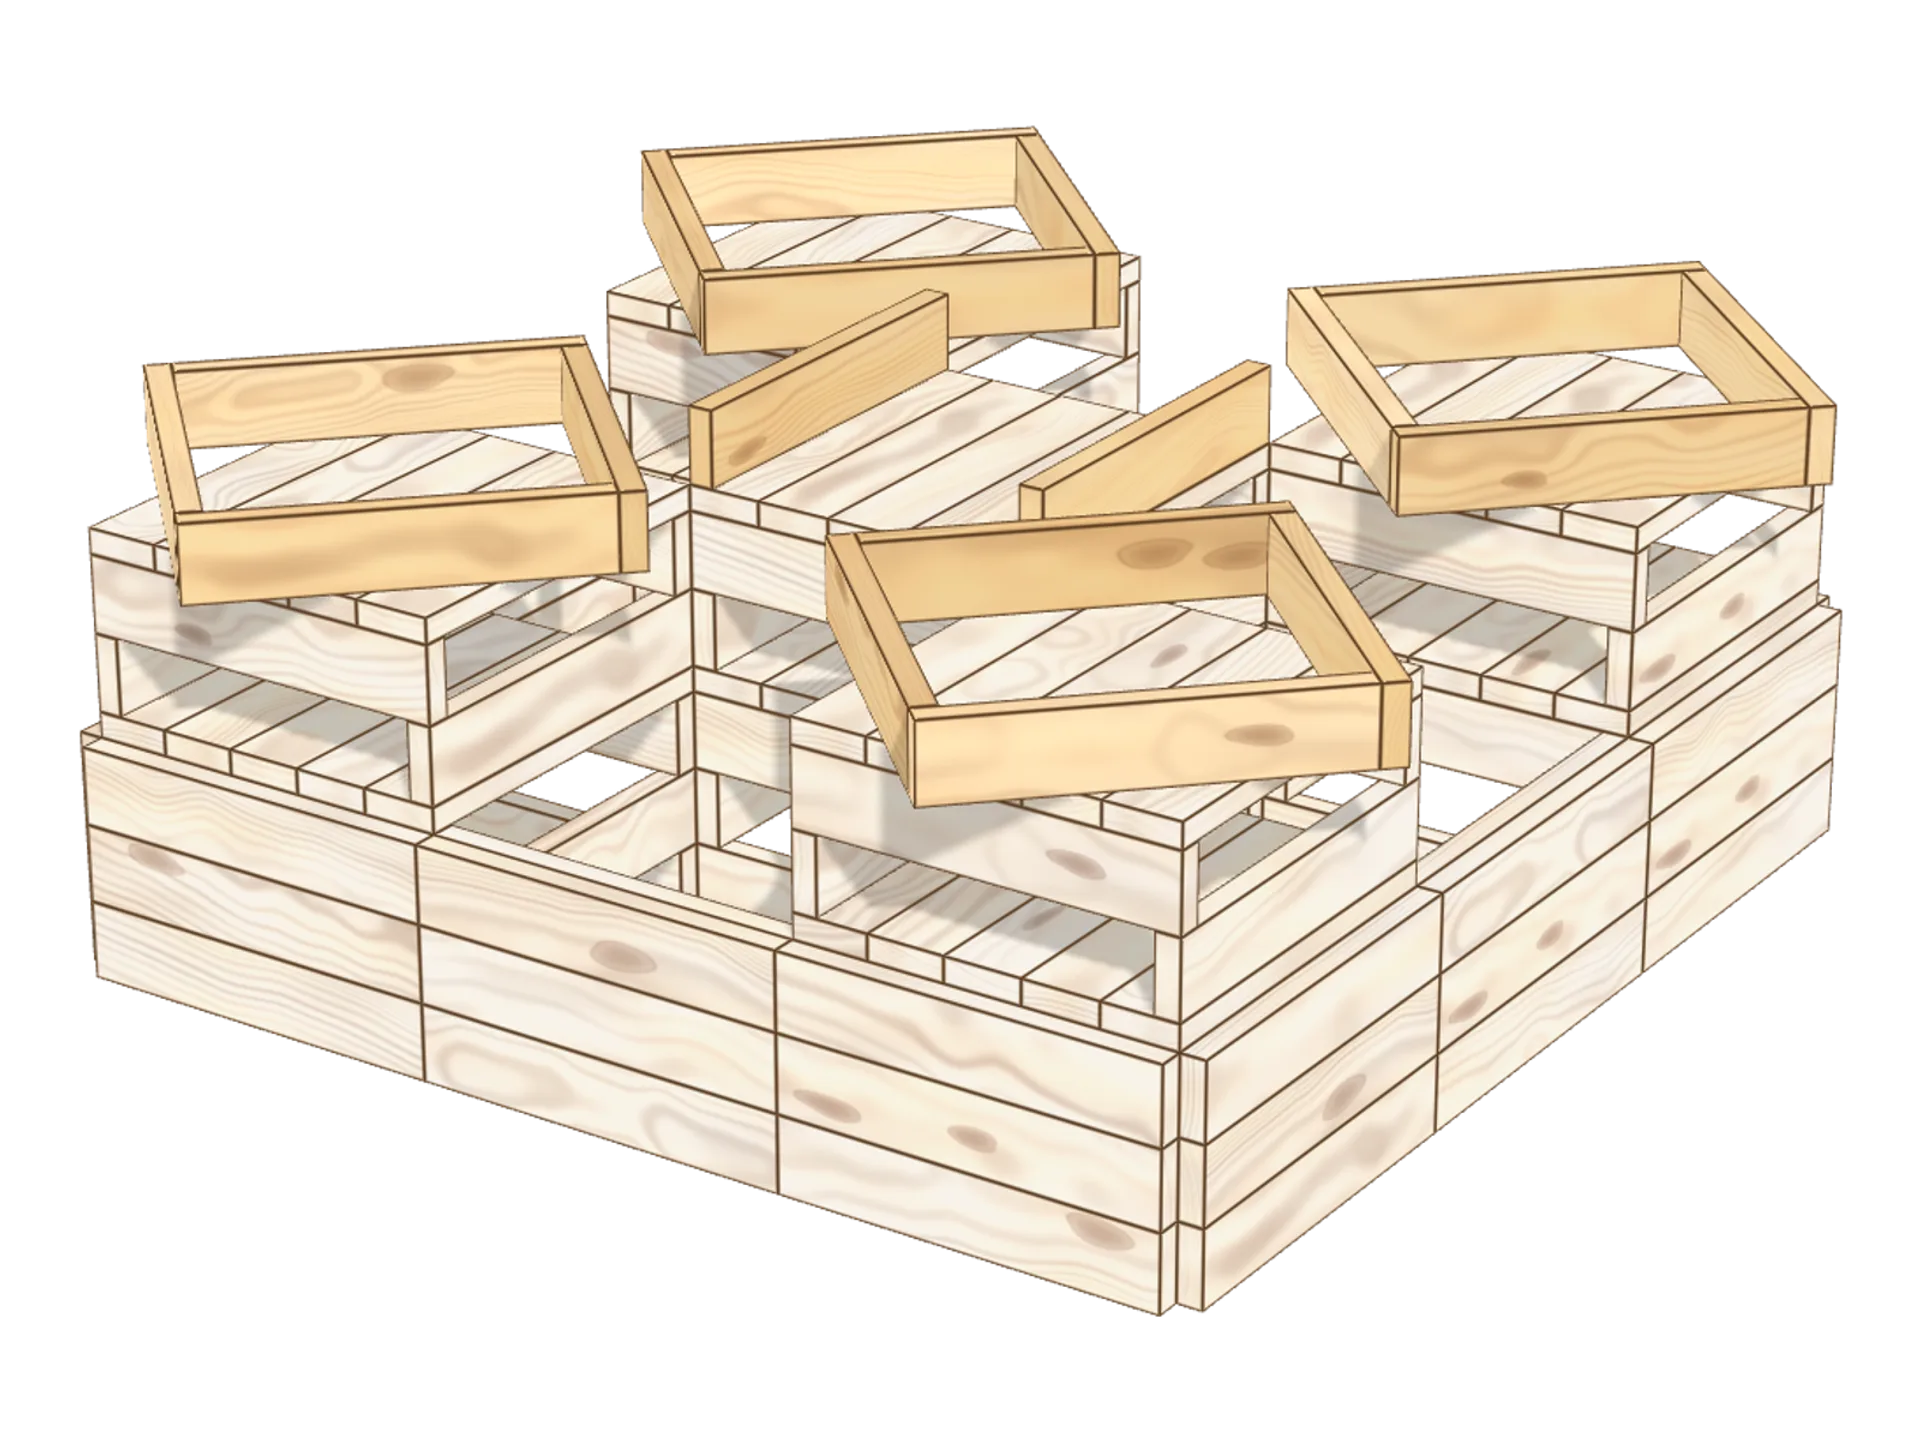
Step 10: lay the castle battlements
On each corner tower, lay four planks on their edge in a square, turned at an angle to the tower. Each one covers the end of the previous one. Add a course to the keep (the middle tower).
💡 Astuce : always turn the same way, or the square will not close.
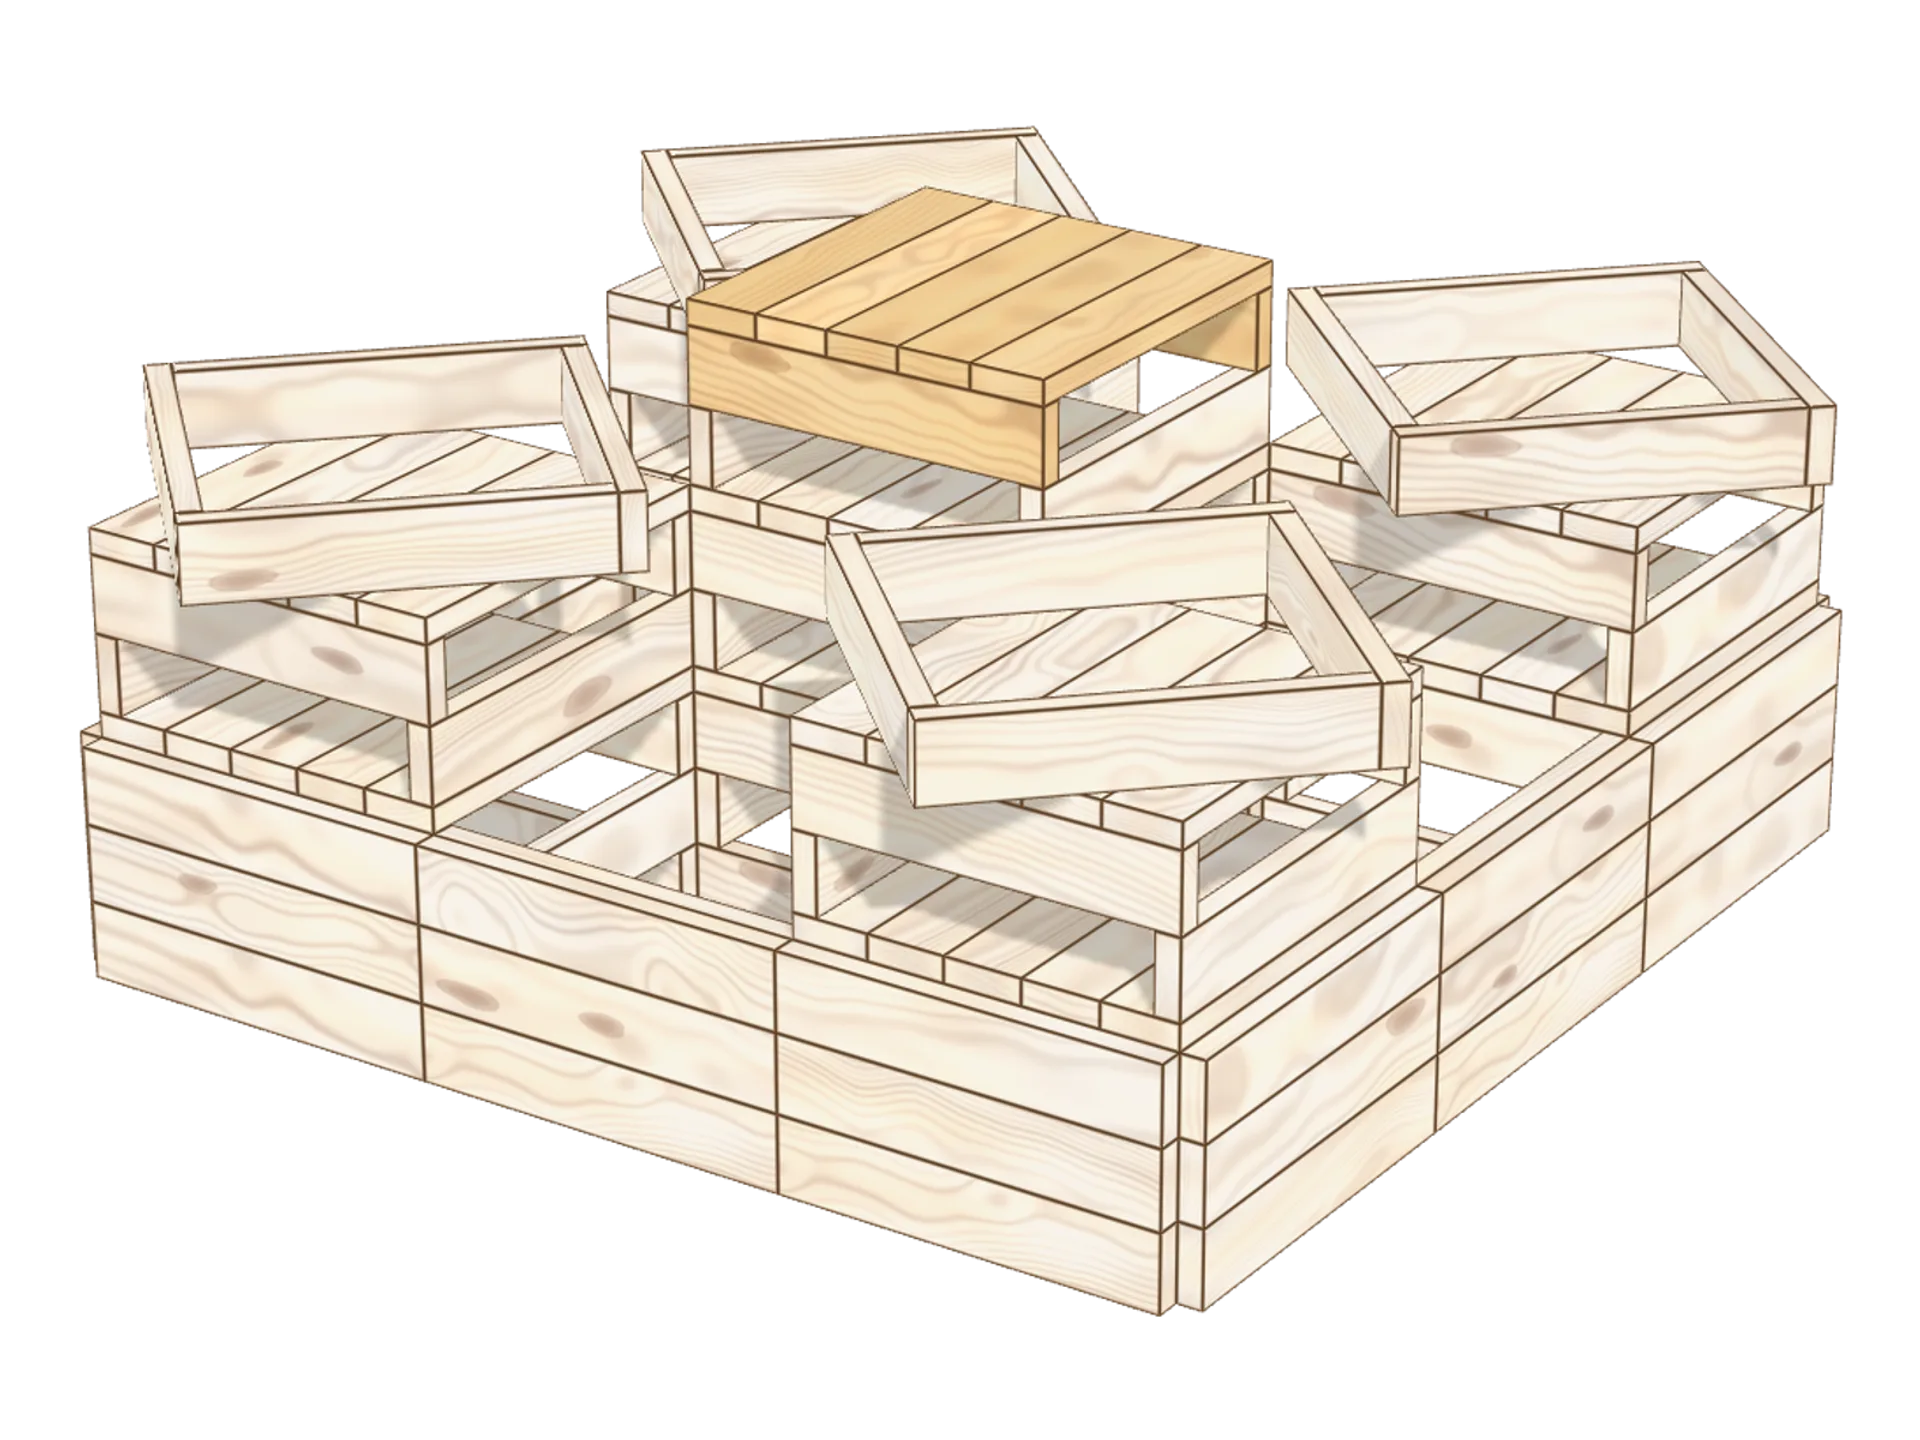
Step 11: top the keep
Add one last level to the keep using 2 side Kapla, then close it with 5 pieces laid flat.
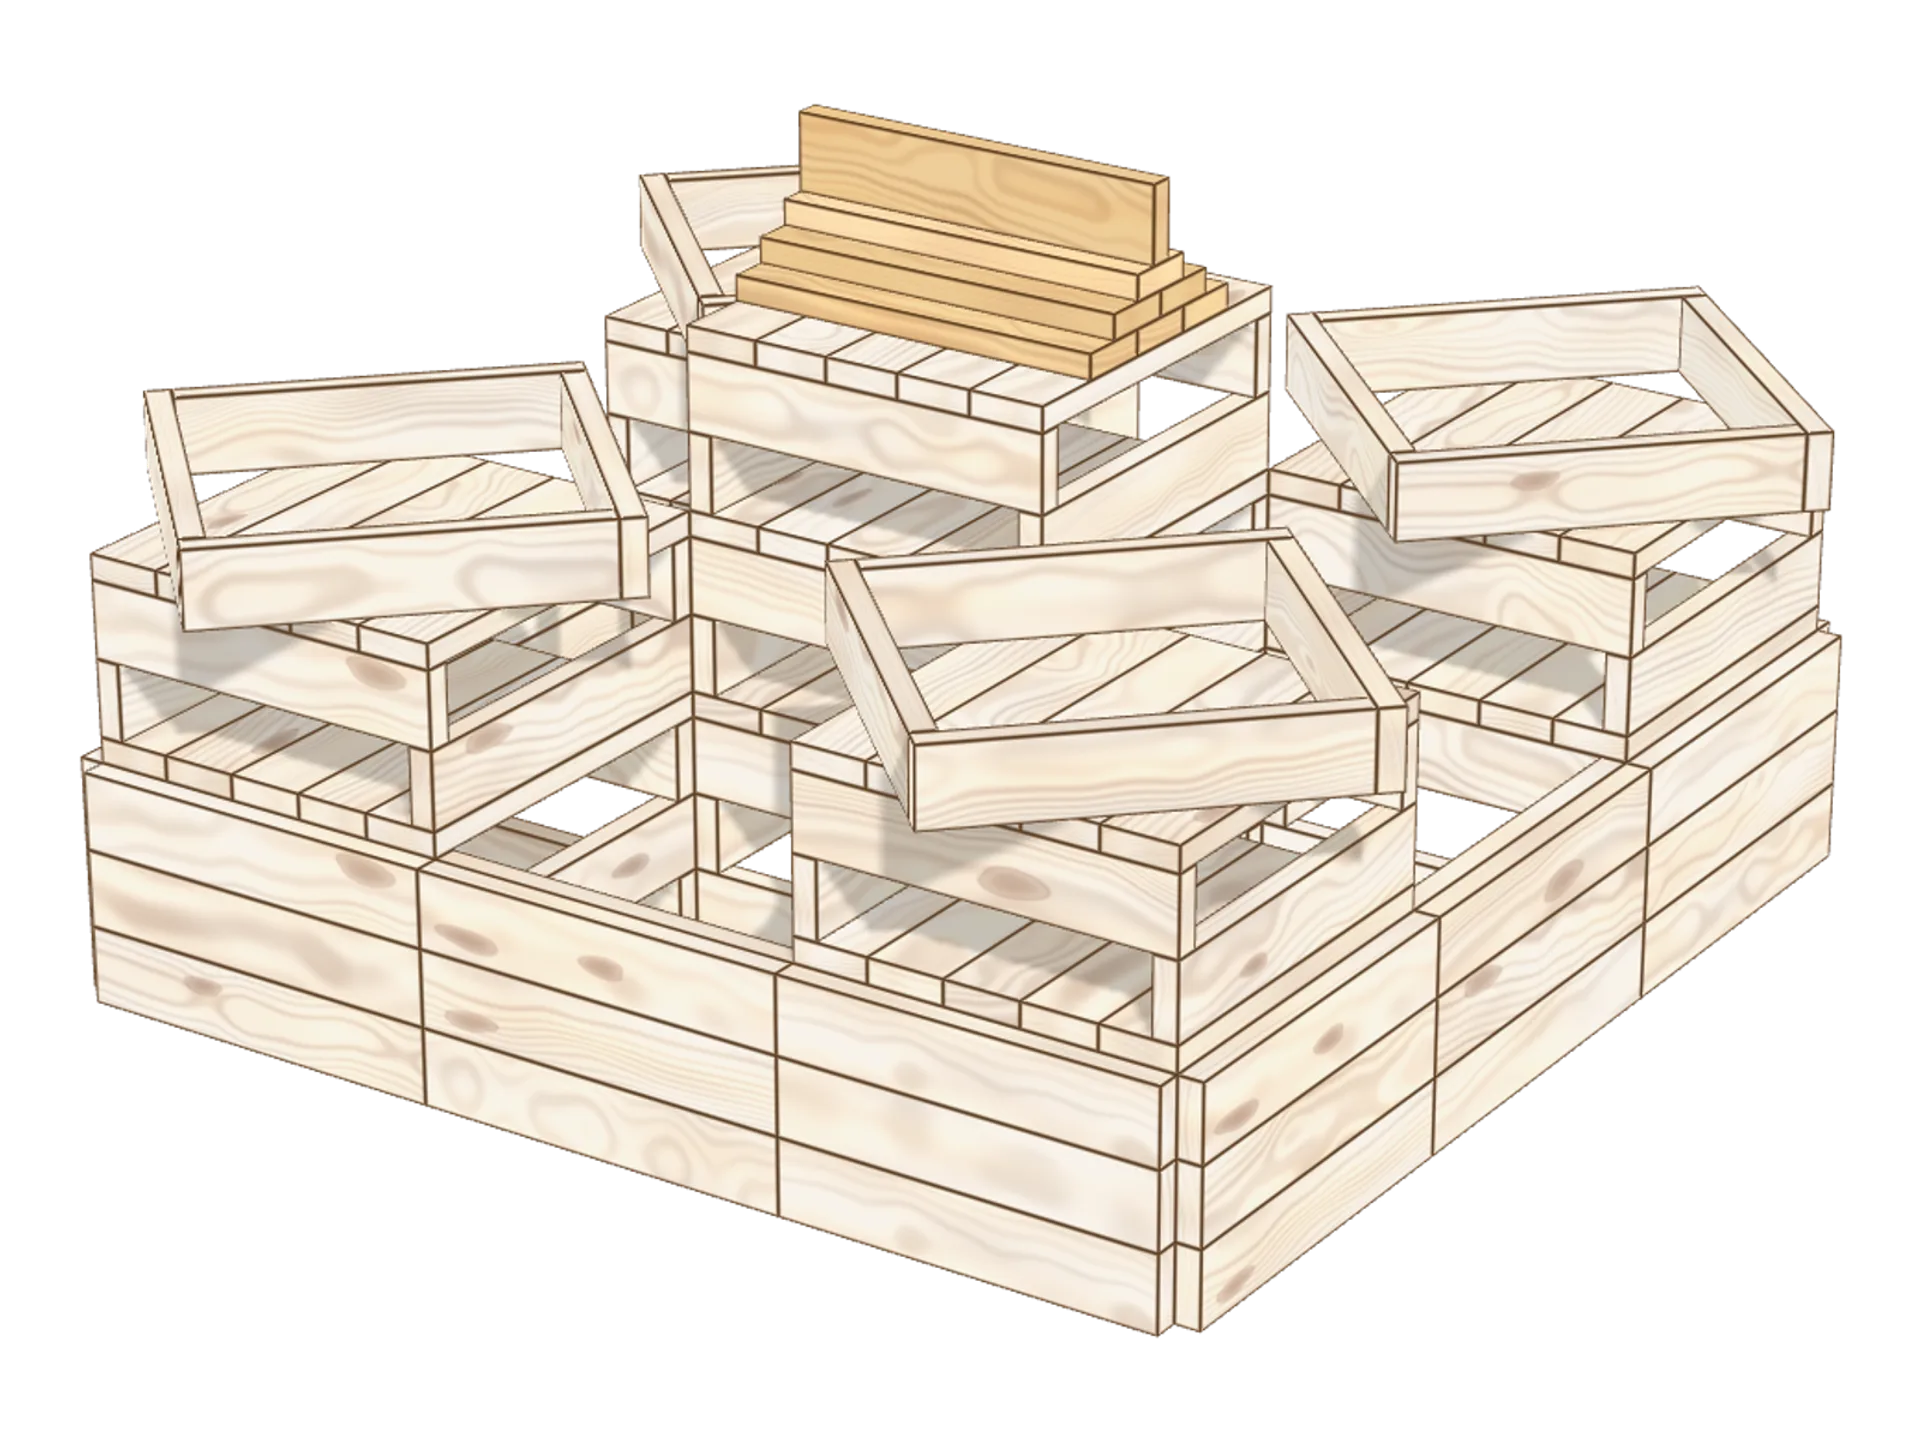
Step 12: build the castle roof
Stack 3 heights of flat planks, first with 3 planks, then 2, then 1. Then lay the last plank on its edge at the very top. This is the ridge, the top edge of the roof. Your castle is finished!
💡 Astuce : you can also add a drawbridge by lining up 5 flat Kapla in the middle of one side of the castle!
Frequently asked questions
This model takes 180 Kapla planks: 48 for the wall and its skin, 54 for the towers and the keep, 55 for the floors and terraces, 16 for the battlements and 7 for the roof.
From 7 years old unaided. The tricky move is the battlements: the four planks have to overlap turning the same way, or the square will not close.
Even though balance is not much of a difficulty, you have to pay close attention to the base. Placing the Kapla planks at the start can be trickier if you rush, because you will not be able to build the towers afterwards!
Related models
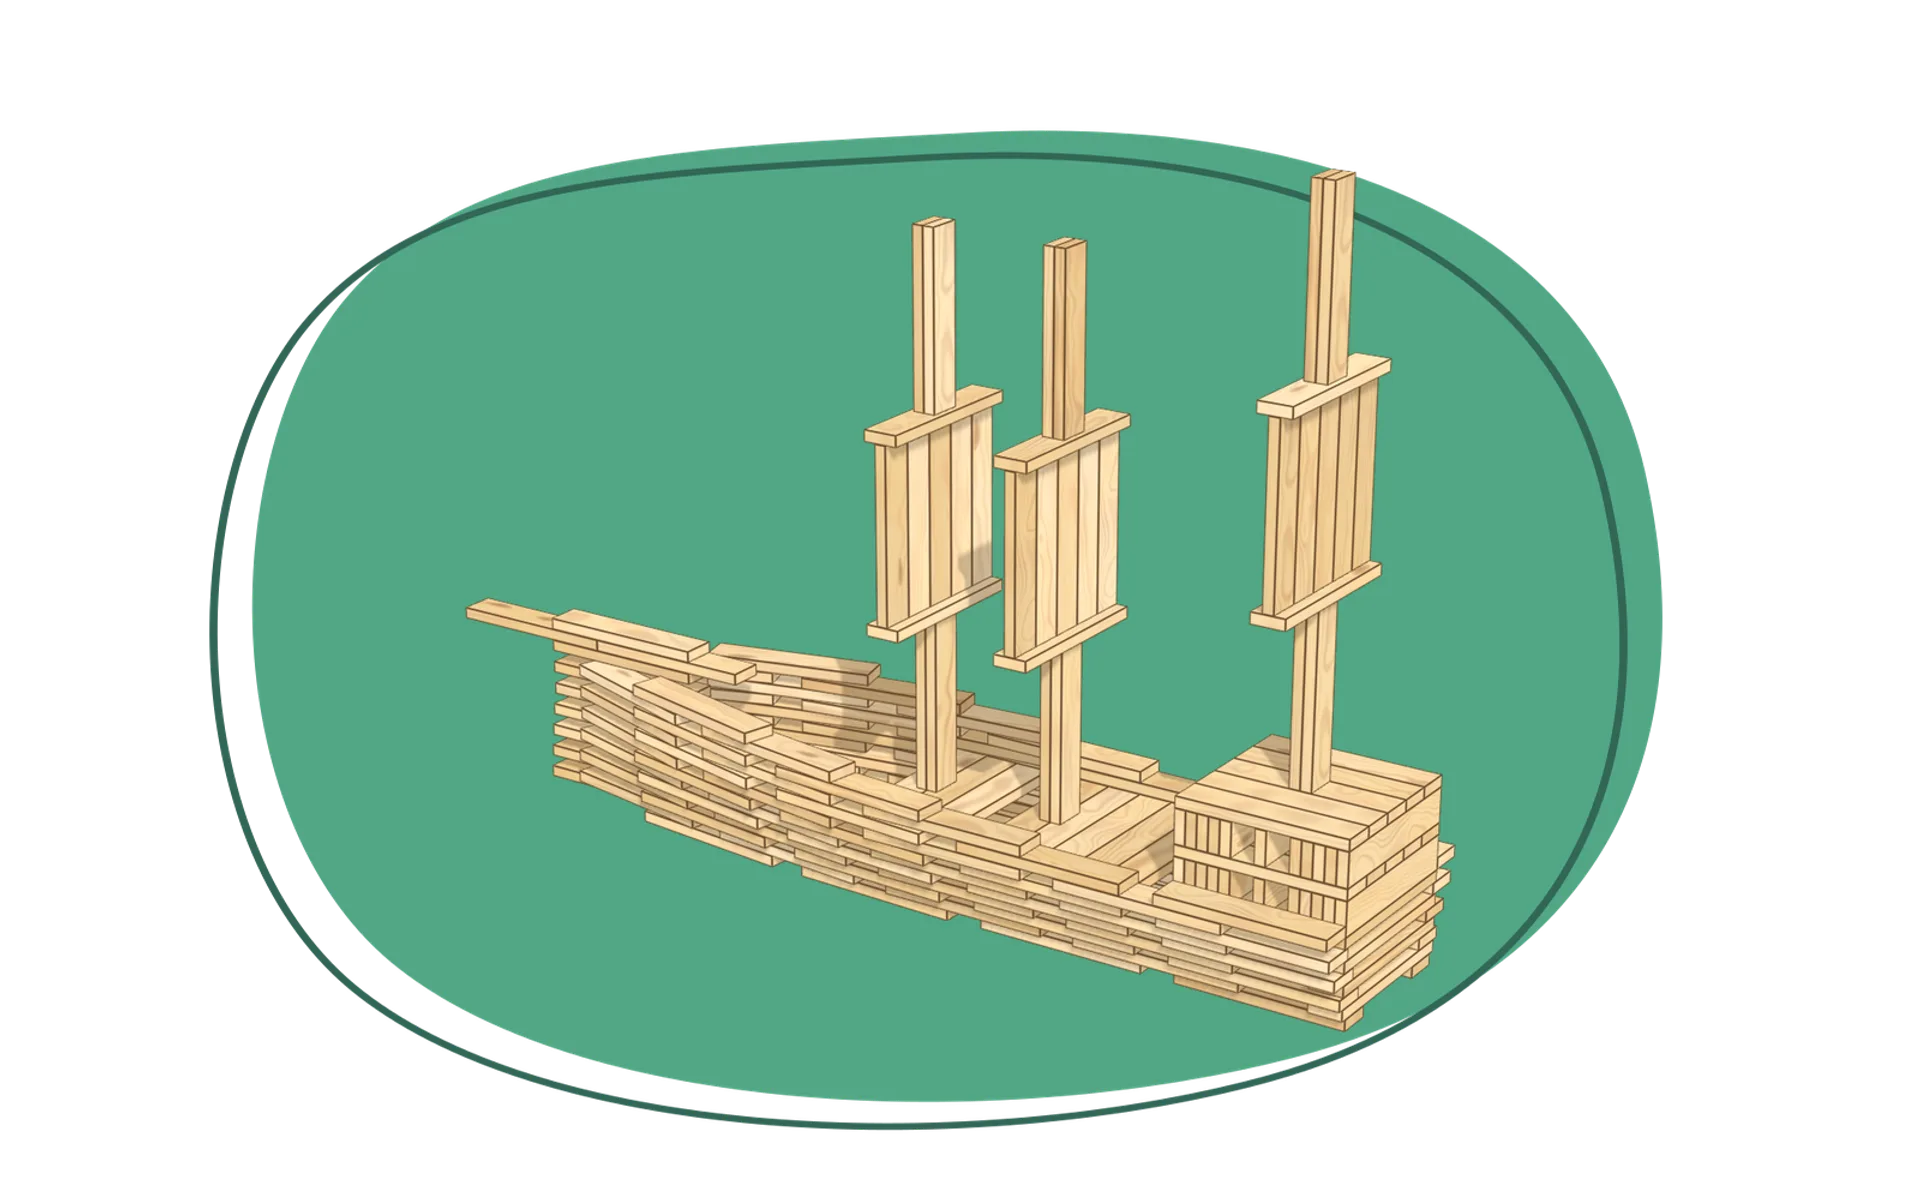
Pirate ship
Build a real pirate ship with Kapla, with its curved hull, its raised bow, the captain’s cabin at the back and 3 masts with their sails set high! This hard model takes patience and lots of Kapla: 179 planks in all. It can be built from age 8.
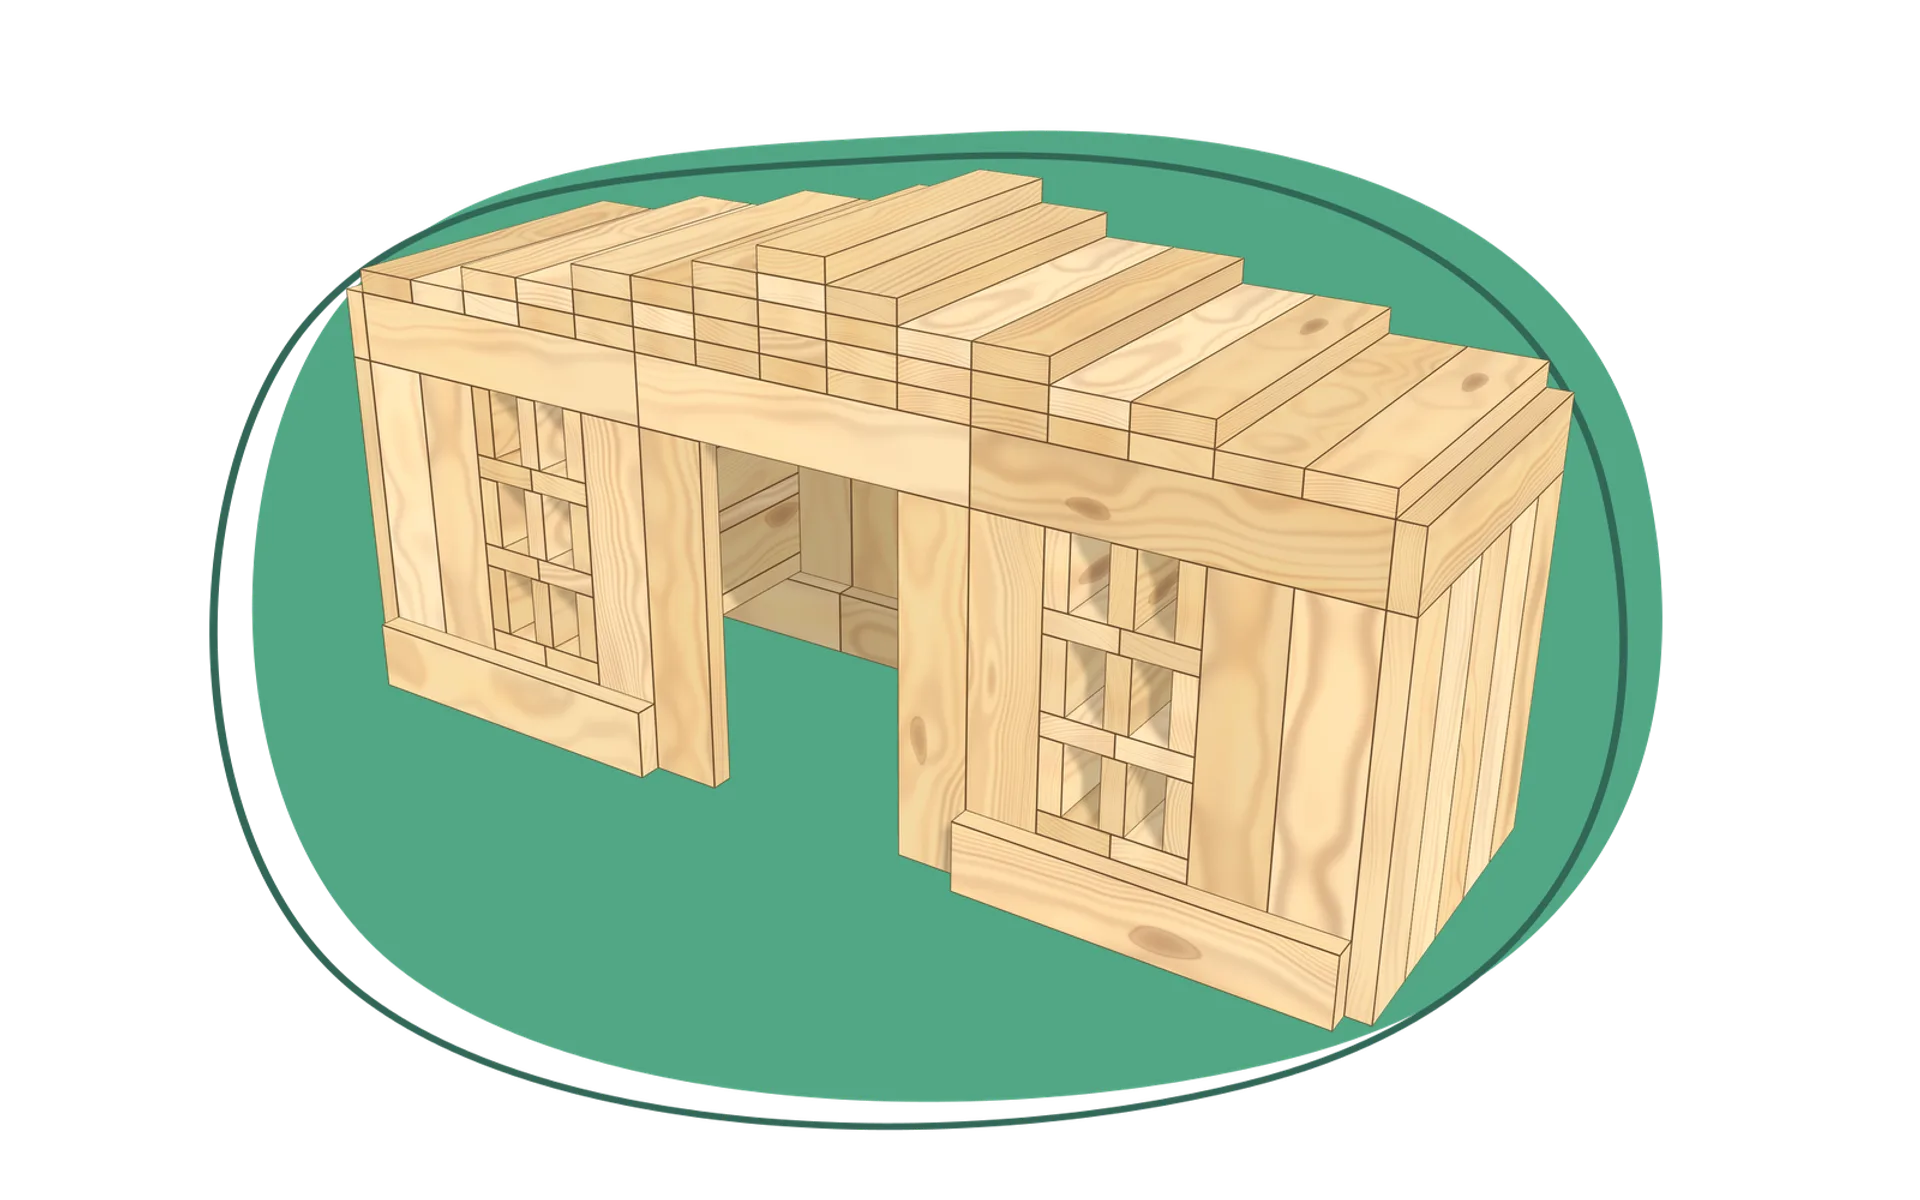
House
A house to live in, with a doorway at ground level and two windows with small panes.
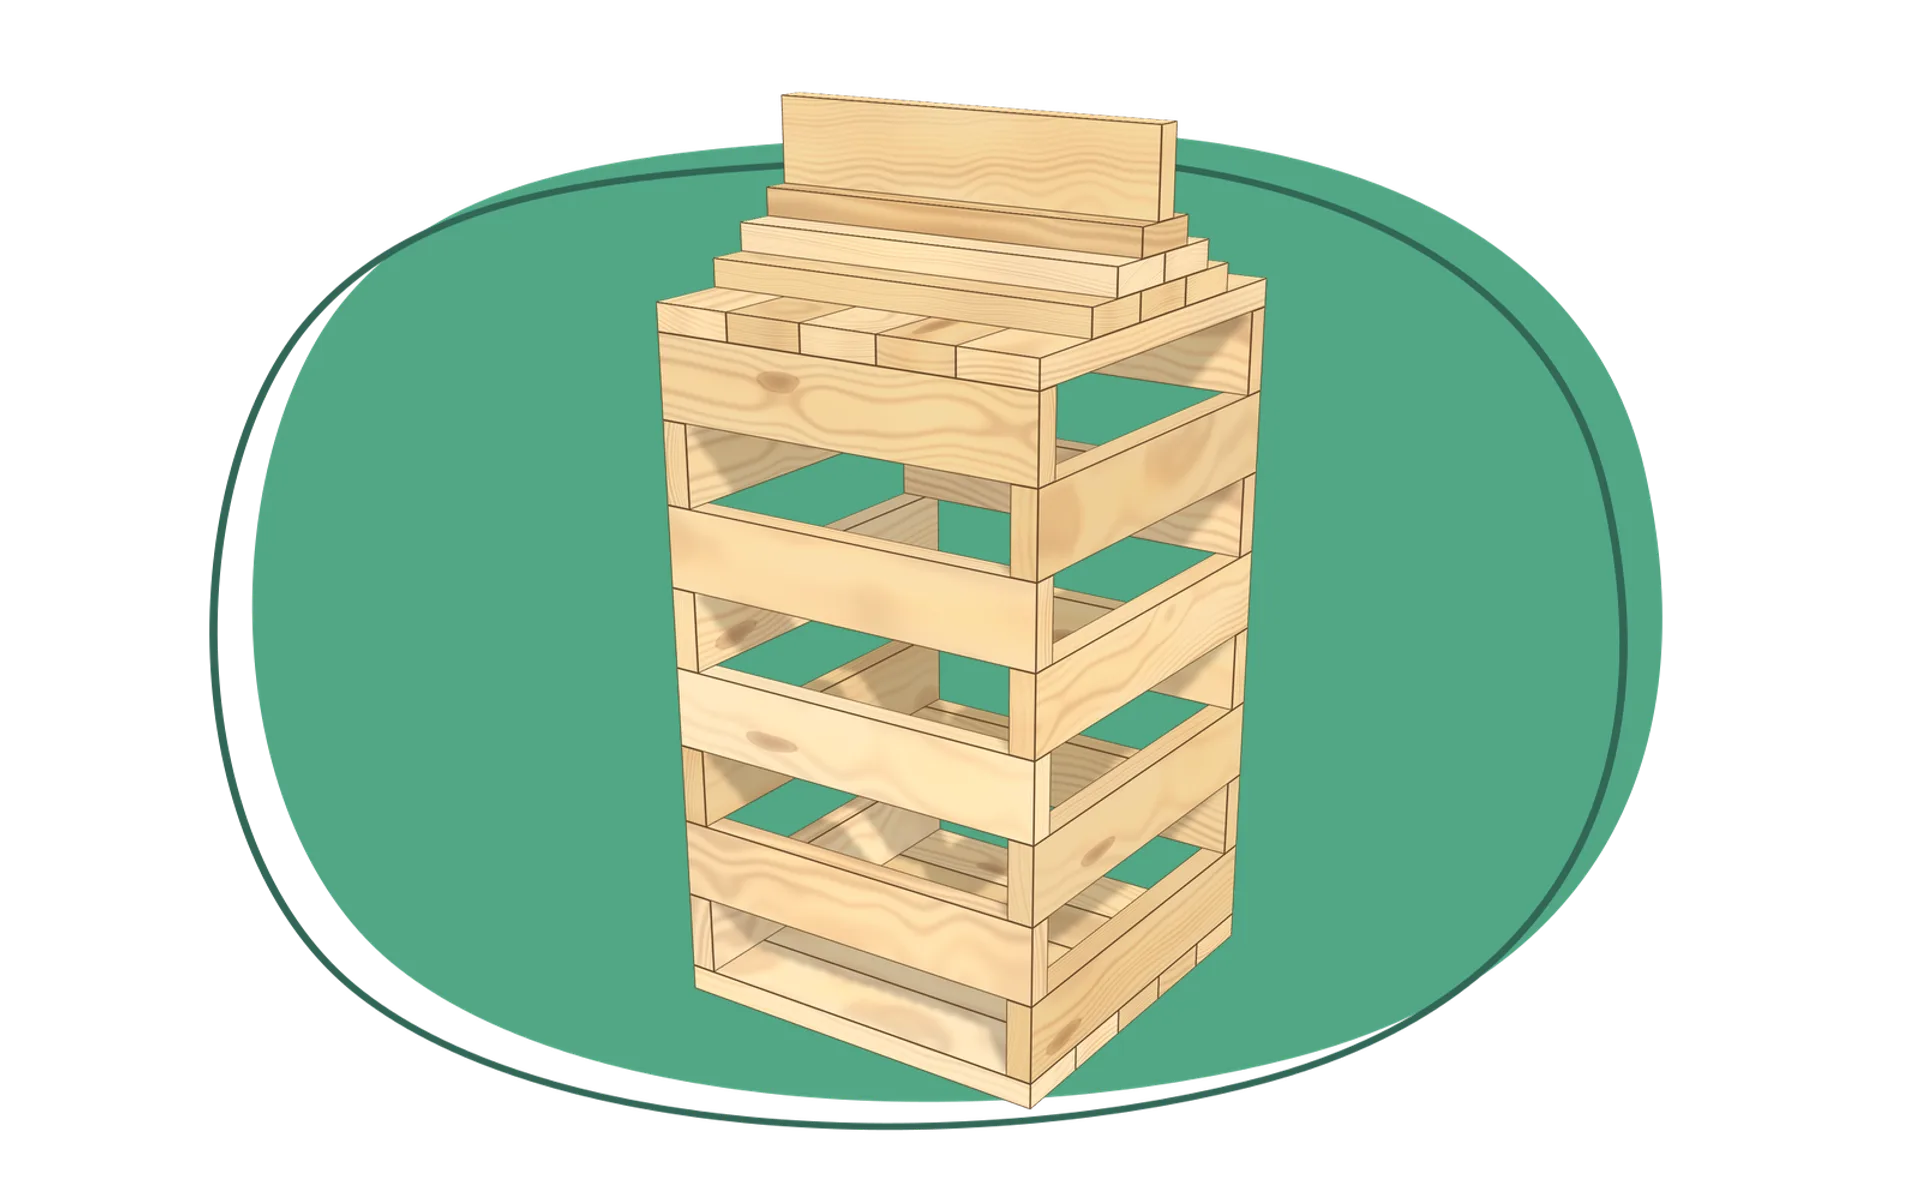
Simple tower
An easy first go at the Kapla tower for the youngest builders, with a base and a roof. Harder models are available on Kaplea for older children.
Comments
No comments yet. Start the conversation!